Sashiko is simple. Everything you need to know to get started is in this post. | Sashiko Tutorial for Beginners
The Best Sashiko Patterns for Beginners
Final Advice for Your First Sashiko Project
The necessary tools for sashiko
The most basic tools you can't do without if you want to start doing sashiko are:
- a needle
- thread
- fabric
- palm thimble
The right needle for sashiko
I've written an in-depth guide to sashiko needles. What you need to know is that sashiko needles are best for sashiko.
The thin “Big Eye Straight” by Tulip is my favorite needle. If you're not sure which size you need, get assorted sashiko needles and try out different lengths.
But if you are not sure whether you are going to like sashiko, just use any needle you have lying around that you can fit your thread through. Crewel needles (size 5 or above) and milliners needles (size 5 or 7) work pretty well, but threading is harder than with sashiko needles.
The right thread for sashiko
Sashiko thread is awesome. It's super tough, it's soft and it's undeniably beautiful.
Sashiko thread is pretty affordable in Japan, but not quite as affordable outside of Japan.
Luckily, you can use just about any thread. Perle Cotton works very well as a replacement for sashiko thread, but even hand-sewing thread can be used.
Different kinds of threads will yield different looks. The result may be exactly what you want. So just use any thread that you can get your hands on.
Only sashiko thread will give sashiko the traditional sashiko look. But that doesn't mean you can't use other thread.
If you prefer to use sashiko thread, I usually use Daruma thread. Olympus thread is a little cheaper.
Learn more about sashiko thread here.
The right fabric for sashiko
You don't need to buy any fabric. You can do sashiko on an old shirt, tea towels, fabric scraps... whatever you have on hand.
If the fabric is very thick, pushing your needle through may be difficult. For a beginner-friendly experience, I recommend using fabric that won't fight you.
Traditionally sashiko was done on linen fabric. Not because that was the rule, but because of lack of choice. These days, sashiko is done on cotton fabric by most Japanese stitchers.
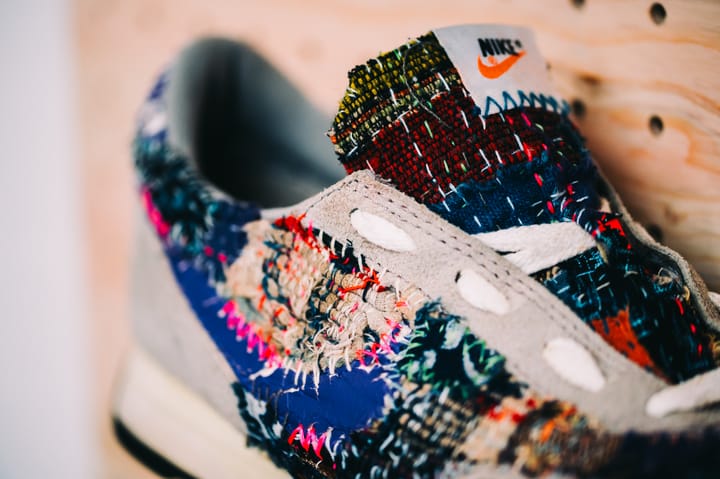
JunAle, one of my favorite sashiko artists, does sashiko on shoes. You have zero excuses to delay your sashiko project if the only problem you face is not having “the right fabric.”
Denim is hard work, but it's doable if you use a palm thimble.

The right thimble for sashiko
Sashiko is traditionally done with a palm thimble. These sashiko thimbles help you:
- Stitch faster
- Keep lines straight
- Make sure your fingers don't get tired
Palm thimbles are extremely helpful for sashiko. If you only get one tool for sashiko, a palm thimble would be my recommendation if it weren't for the needle restriction.
Palm thimbles only work with needles that are long enough. How long exactly depends on your hands. The needles recommended above work great in combination with a palm thimble.
If you have leather scraps at home, you can follow my tutorial to make a palm thimble. Otherwise, I recommend the Olympus leather palm thimble.

The best sashiko patterns for beginners
There are a lot of sashiko patterns already out there and new ones are being added continuously. Any pattern is fine, but patterns with long straight lines are best for beginners.
Especially the jūjizashi pattern and the kagome pattern are great if you do sashiko for the first time.
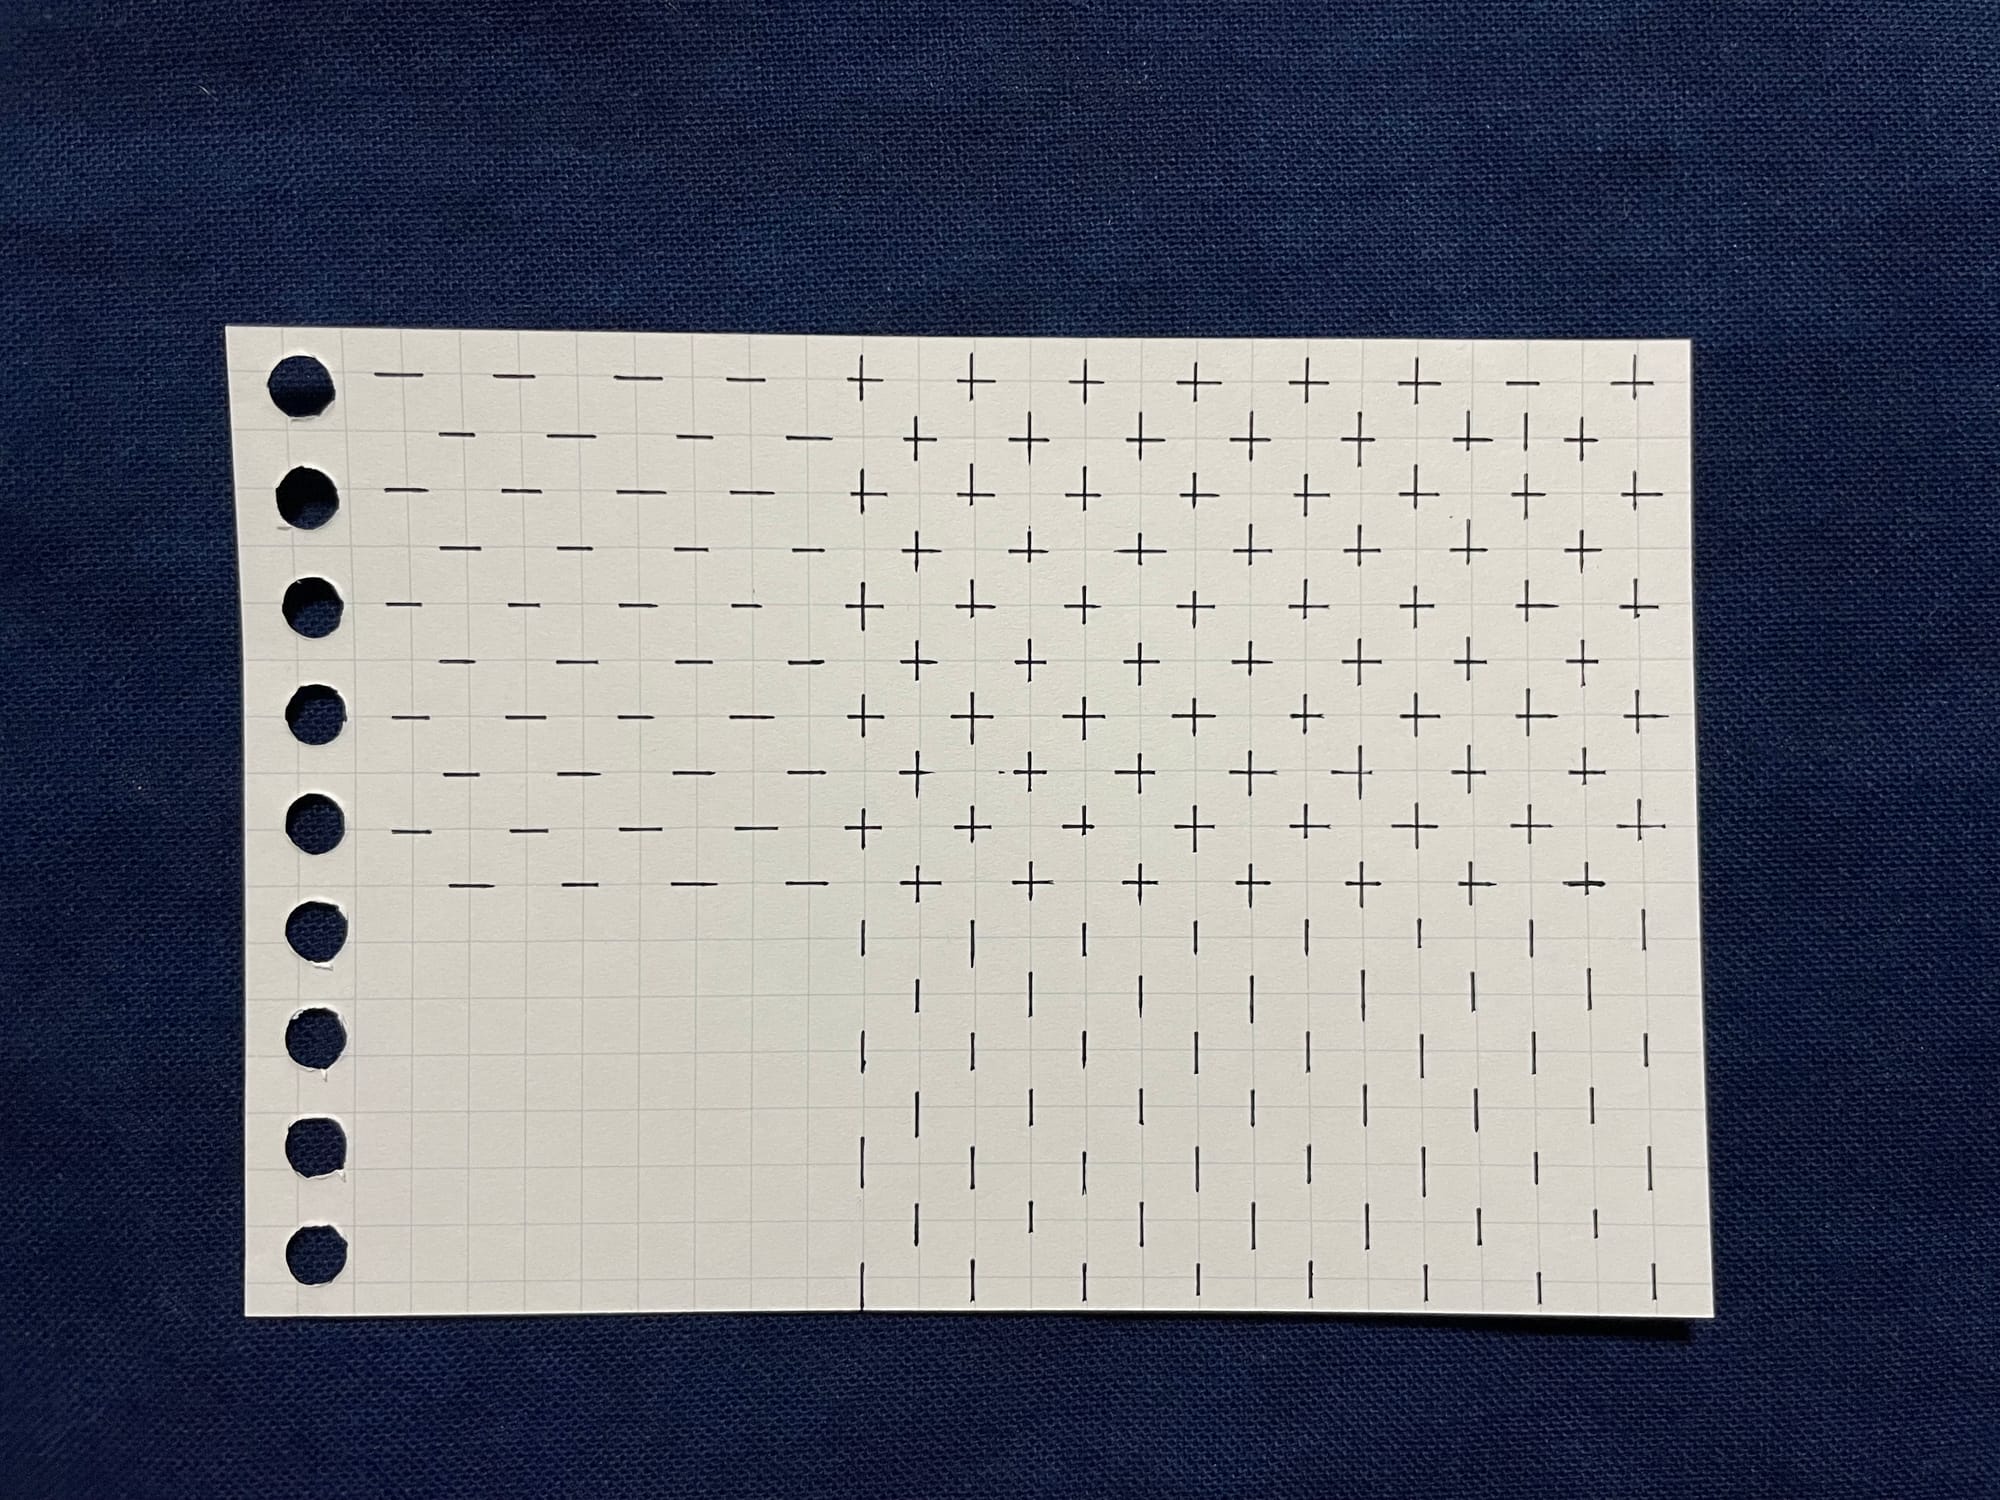
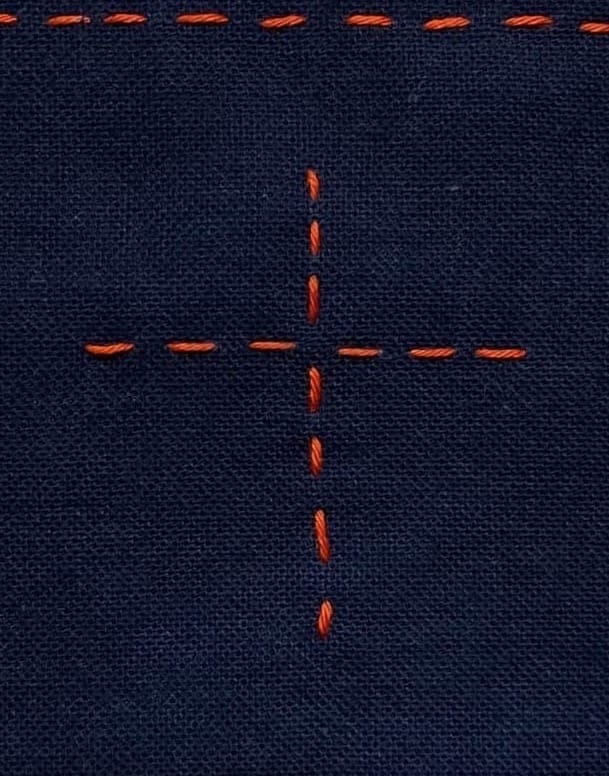
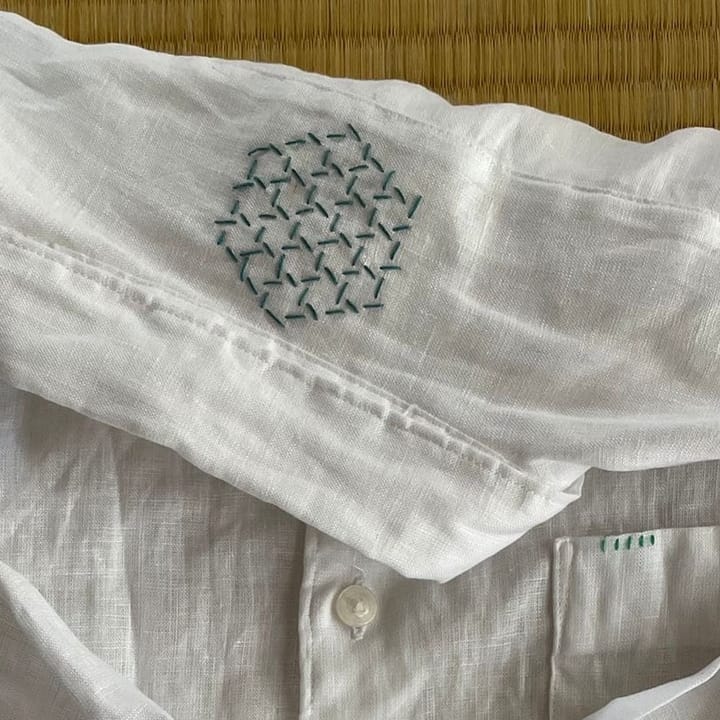
The Jūjizashi sashiko pattern
The jūjizashi pattern exists of tiny jū 十, meaning “ten” in Japanese. Just draw straight lines onto your fabric, preferably with a marker that washes out, and stitch the intersections.
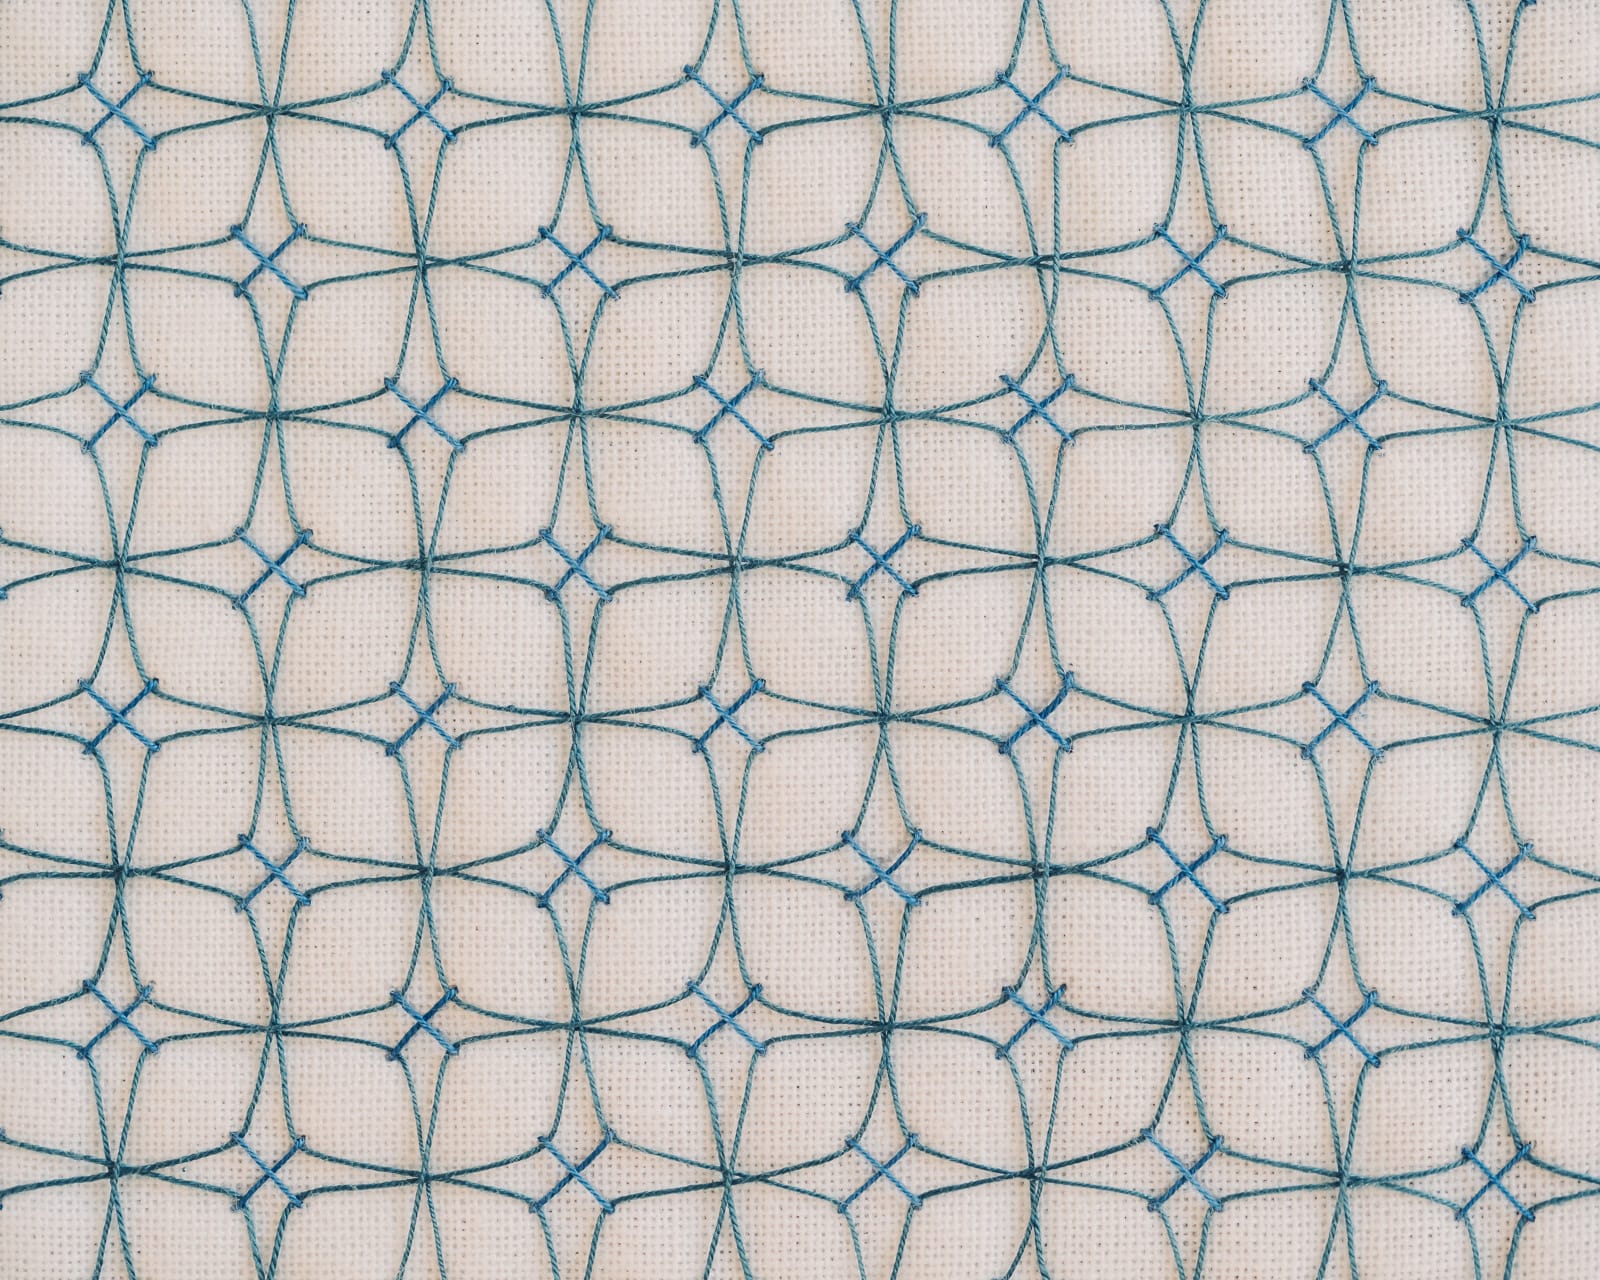
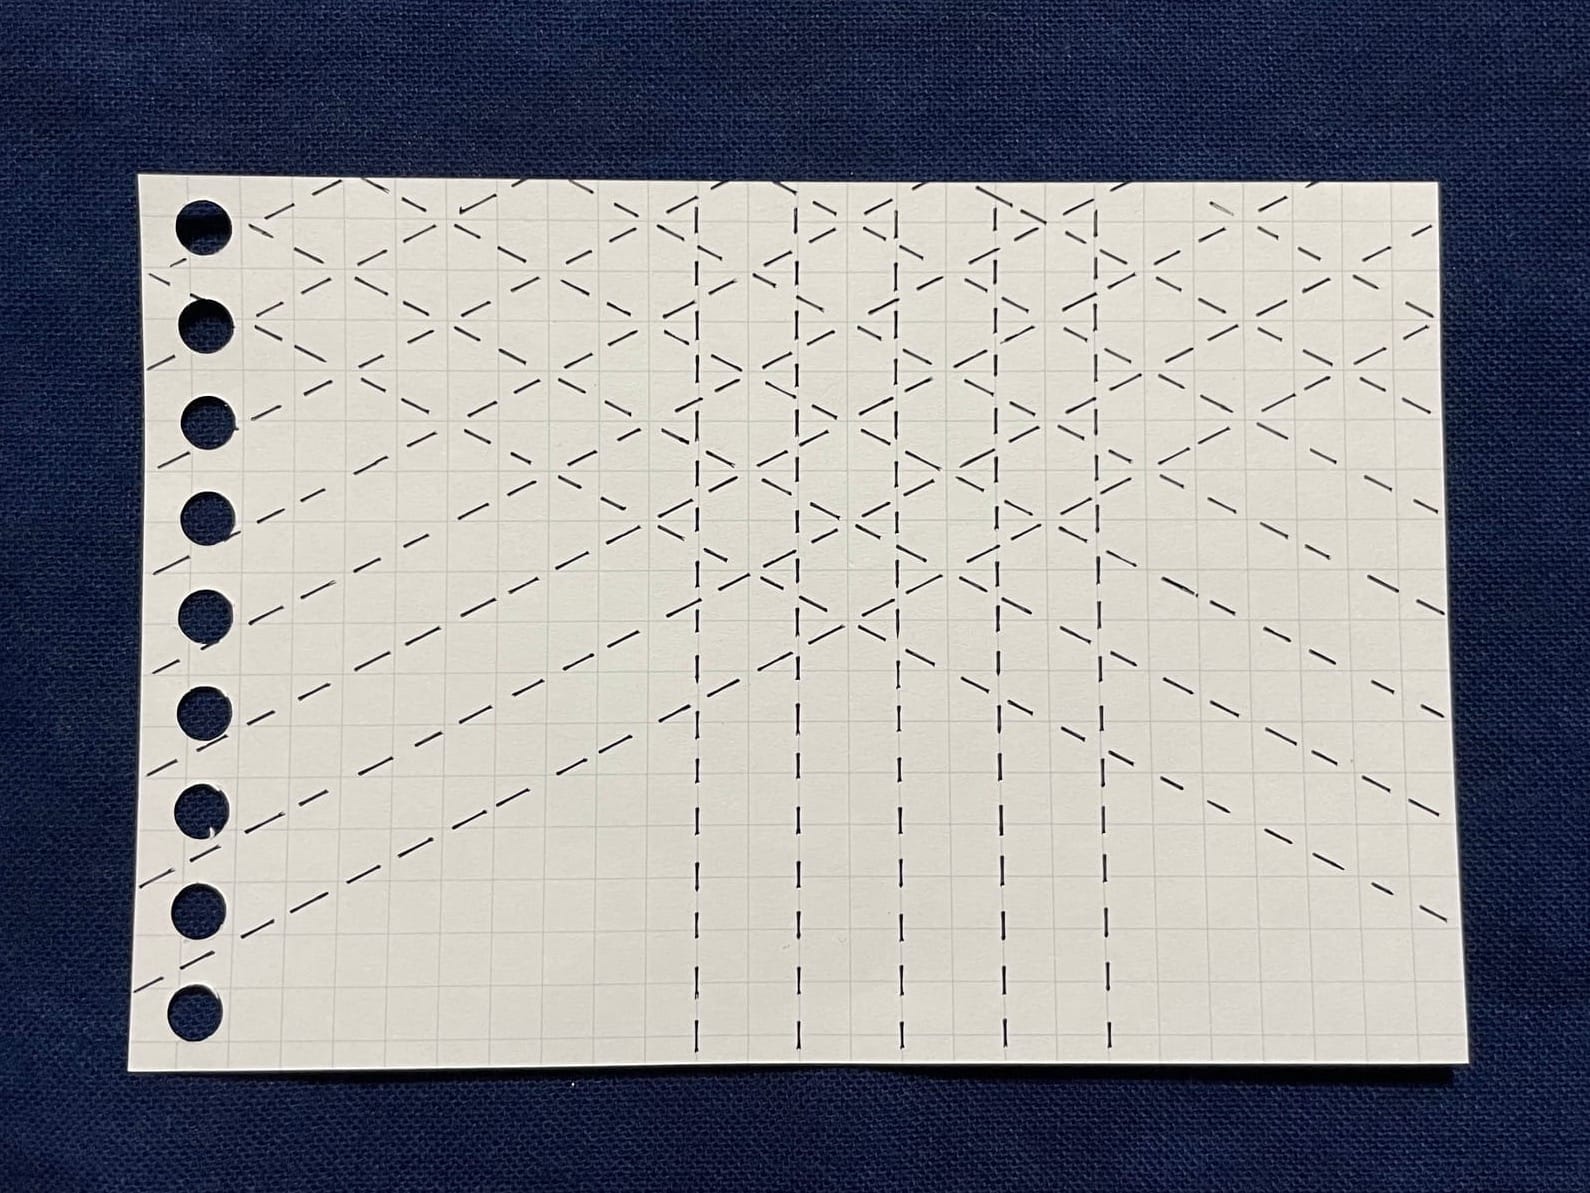
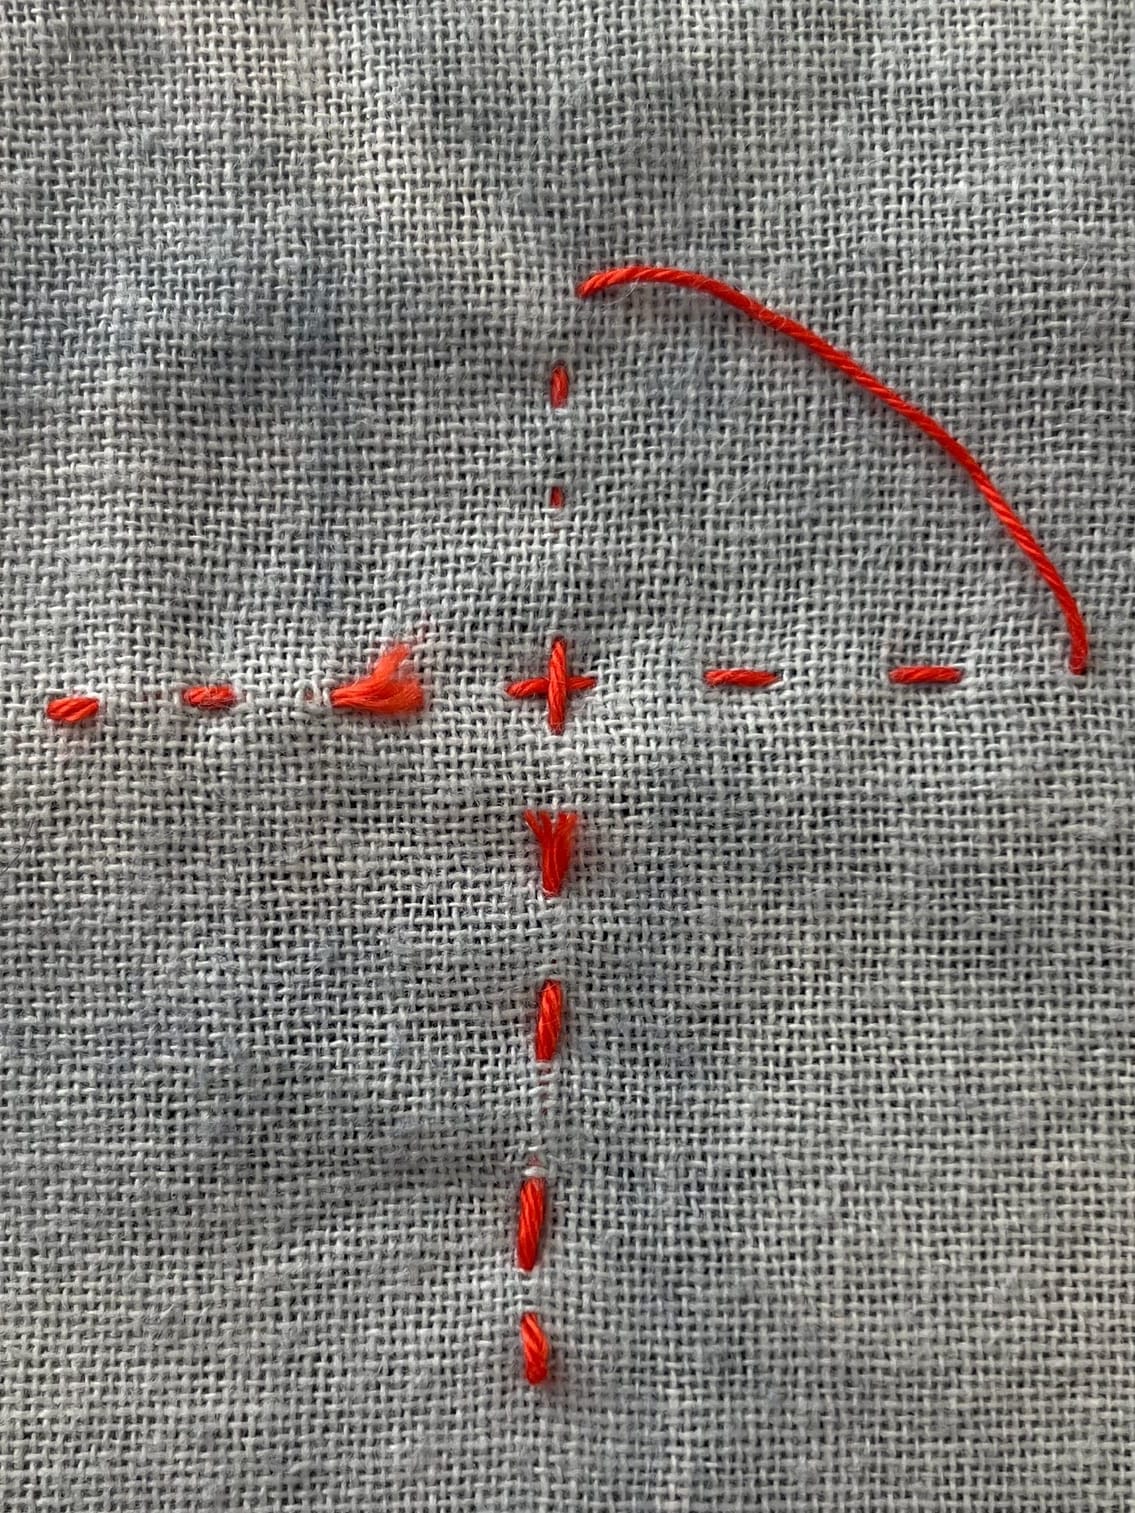
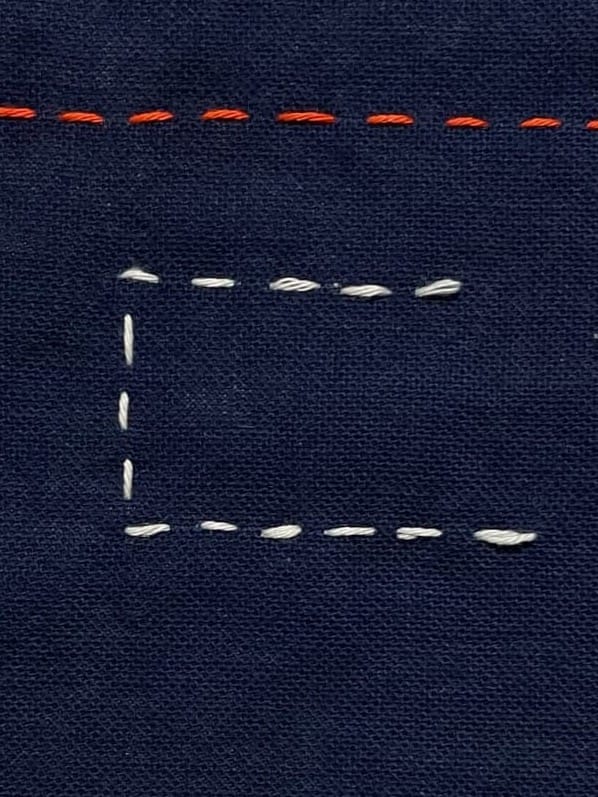
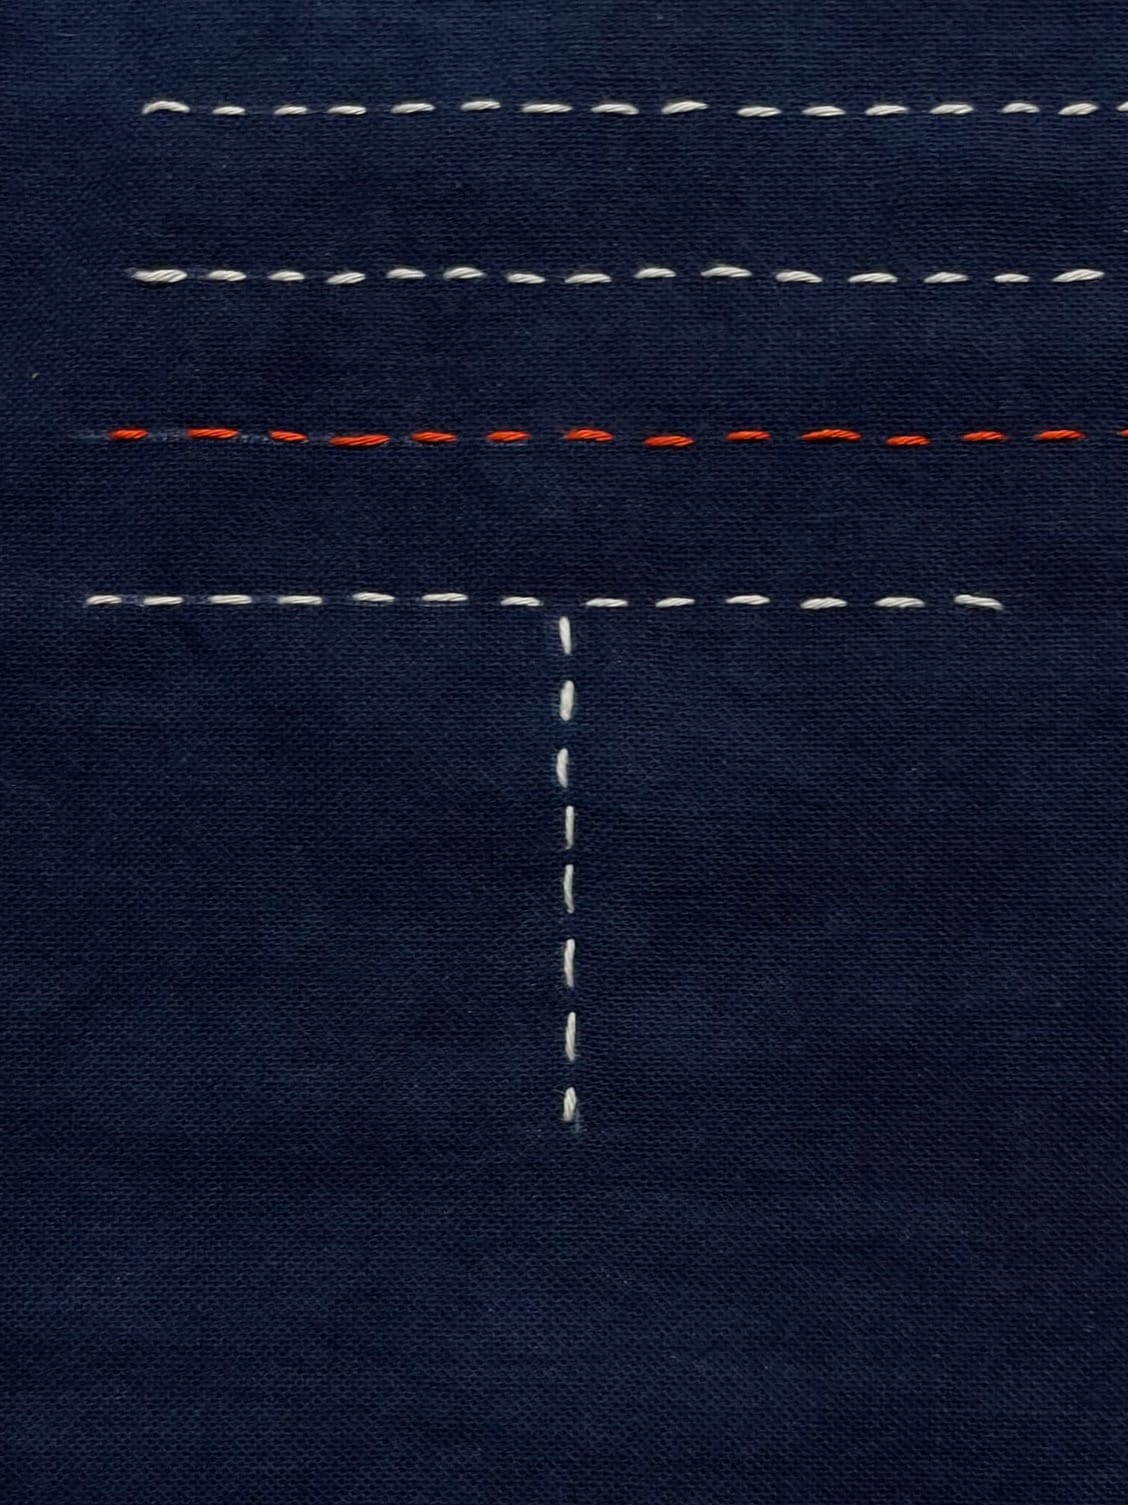
The Kagome sashiko pattern
There are different versions of this pattern. This one is perfectly suitable for beginners. Draw a grid as in the photo below.
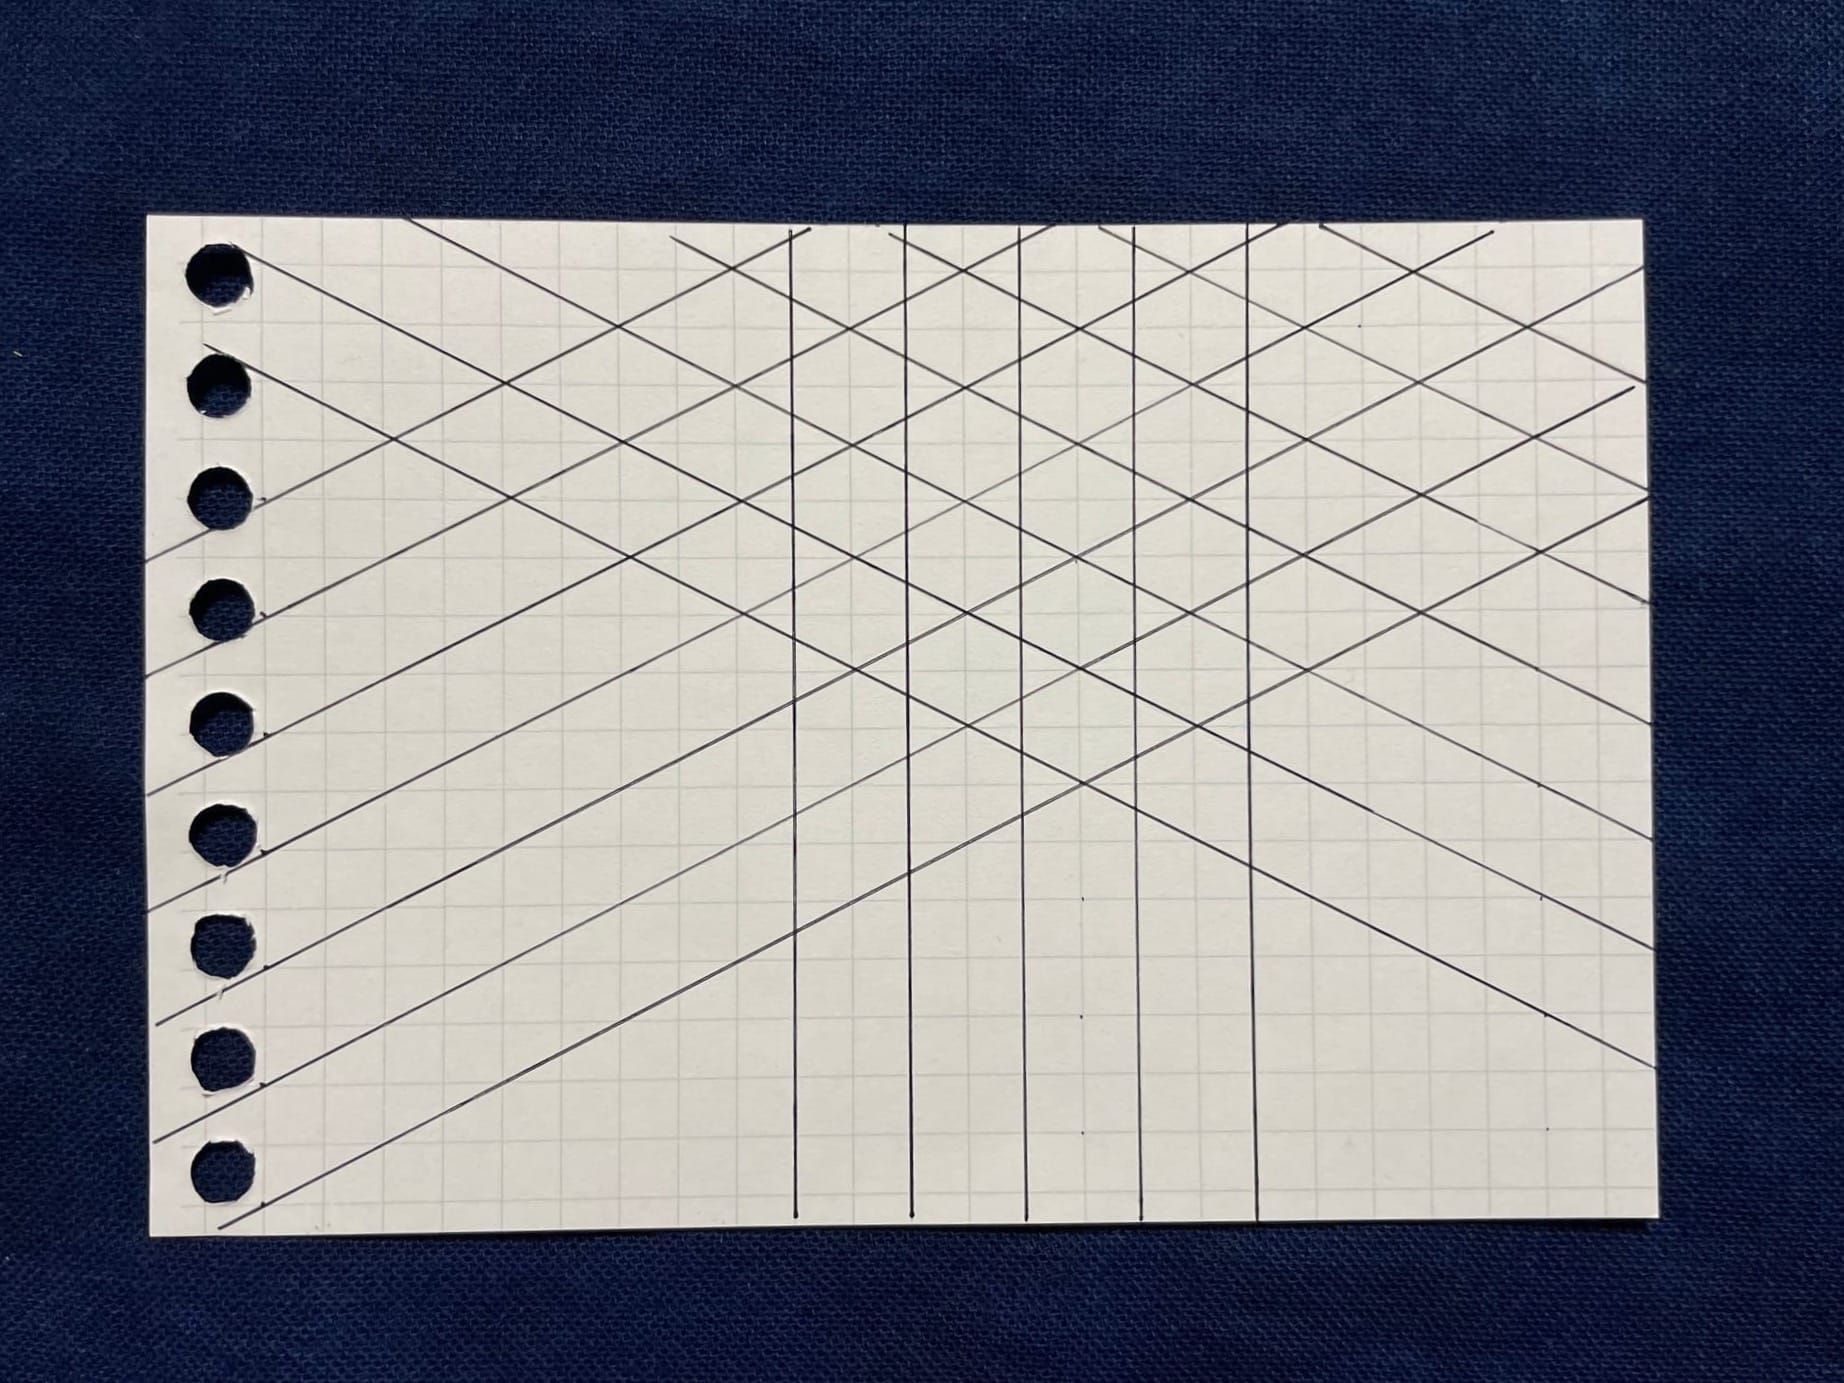
When stitching, try to avoid hitting the intersections. Start with the vertical line because that's the easiest one.
These two patterns are easy to draw onto fabric, they are easy to stitch and they let you practice unshin 運針 without any distractions. Unshin is the kind of rhythmic stitching characteristic of sashiko.
Don't worry about making all the stitches the perfect length and super straight on your first project. Just stitch. Your stitches will change the more you do sashiko.
If you want to make sashiko easy, you can get pre-printed sashiko fabric. Most versions have singular stitches printed onto the fabric.
But:
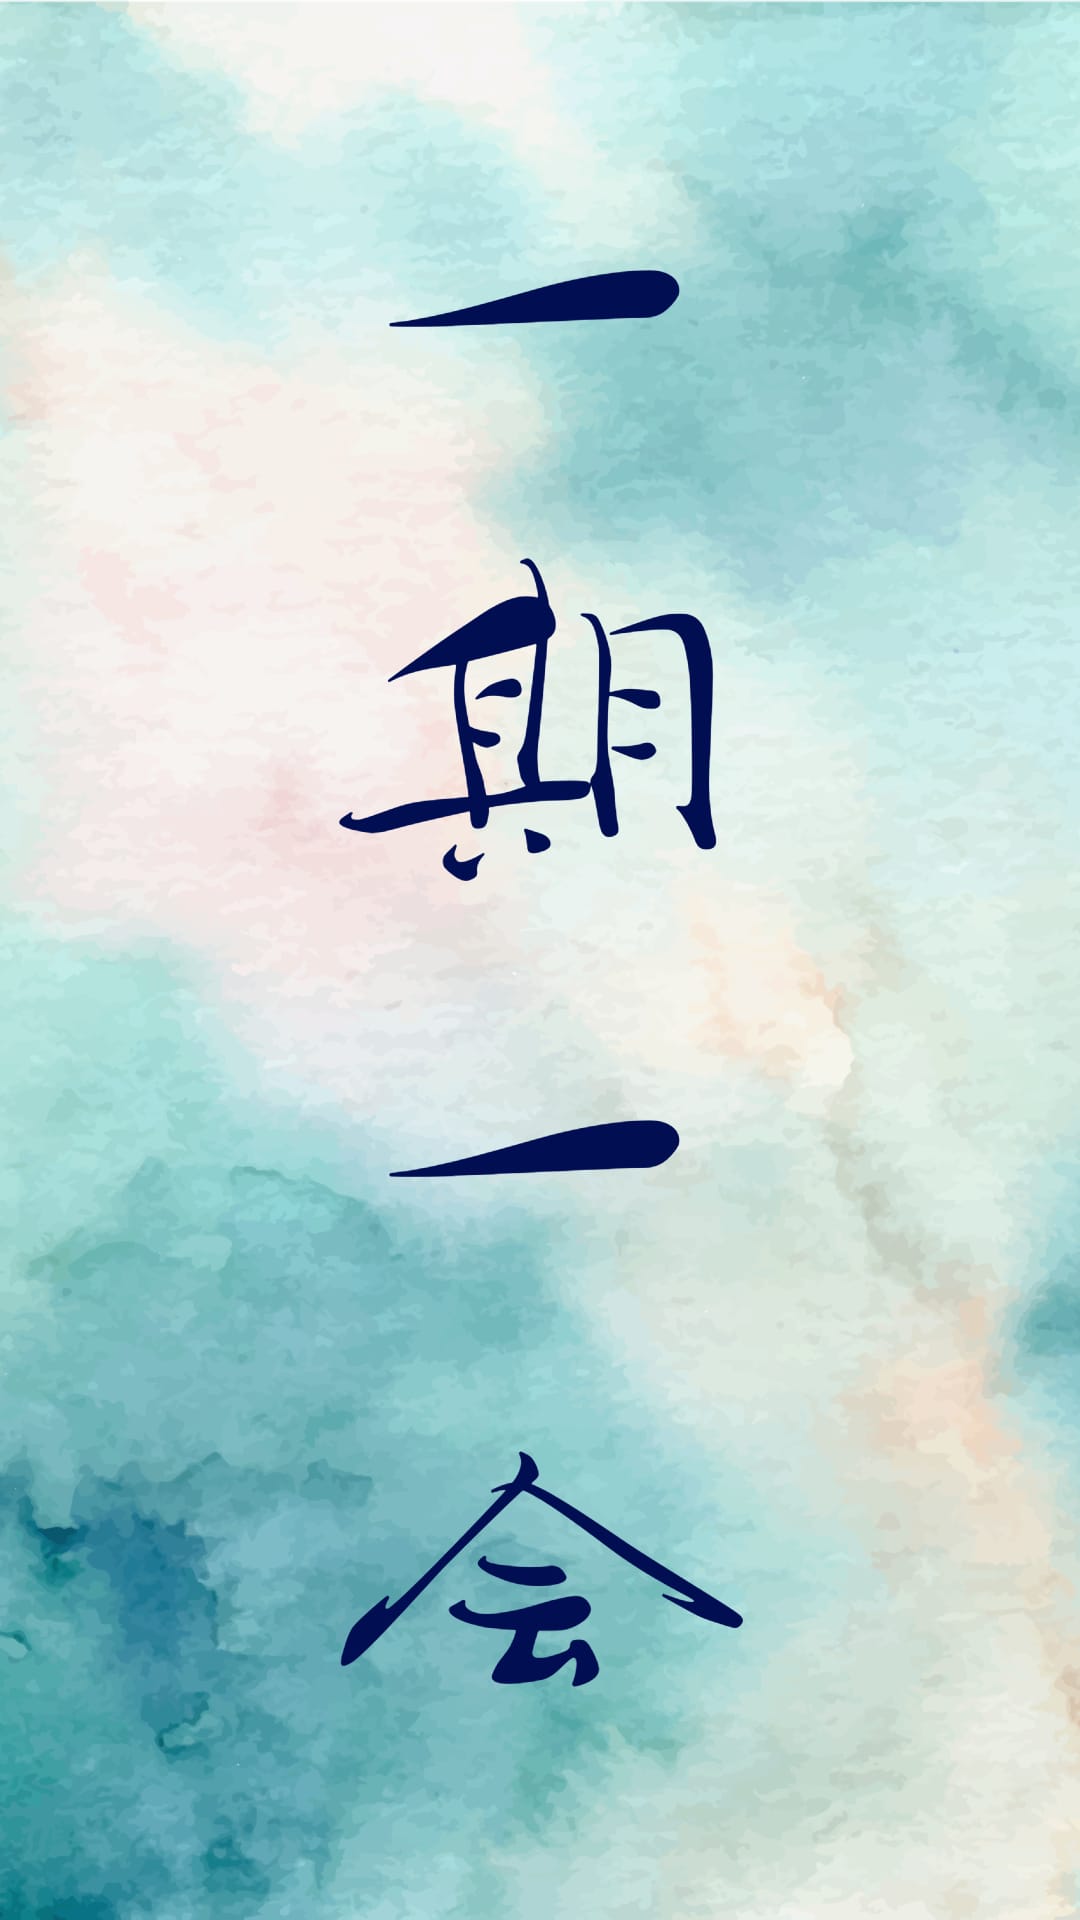
In Japan, there is the concept of ichigo ichie 一期一会. It's hard to translate, but it means that any encounter can only happen once. We may meet twice, but you and I will have changed by then and therefore every encounter is singular.
This is the same with your sashiko. You can only create any stitch, any project once. No matter how hard you try, no two will be alike. Even if they may look the same, the heart that went into it will have different colors.
The technique
Unshin
If you have a palm thimble and the right-sized needle, you're all set to do sashiko with the traditional technique.
Load a couple of stitches onto your needle, push the needle through with the palm thimble, and repeat. Find your rhythm and your stitches will magically line up straight and even. Hooray!
Even out the fabric after stitching 5-10cm to make sure the thread doesn't pull the fabric later on.
I explain how to do sashiko with a palm thimble here.
Basic sashiko rules
There are a couple of dos and don'ts for sashiko. I'm not the sashiko police, so I won't point you out if you don't adhere.
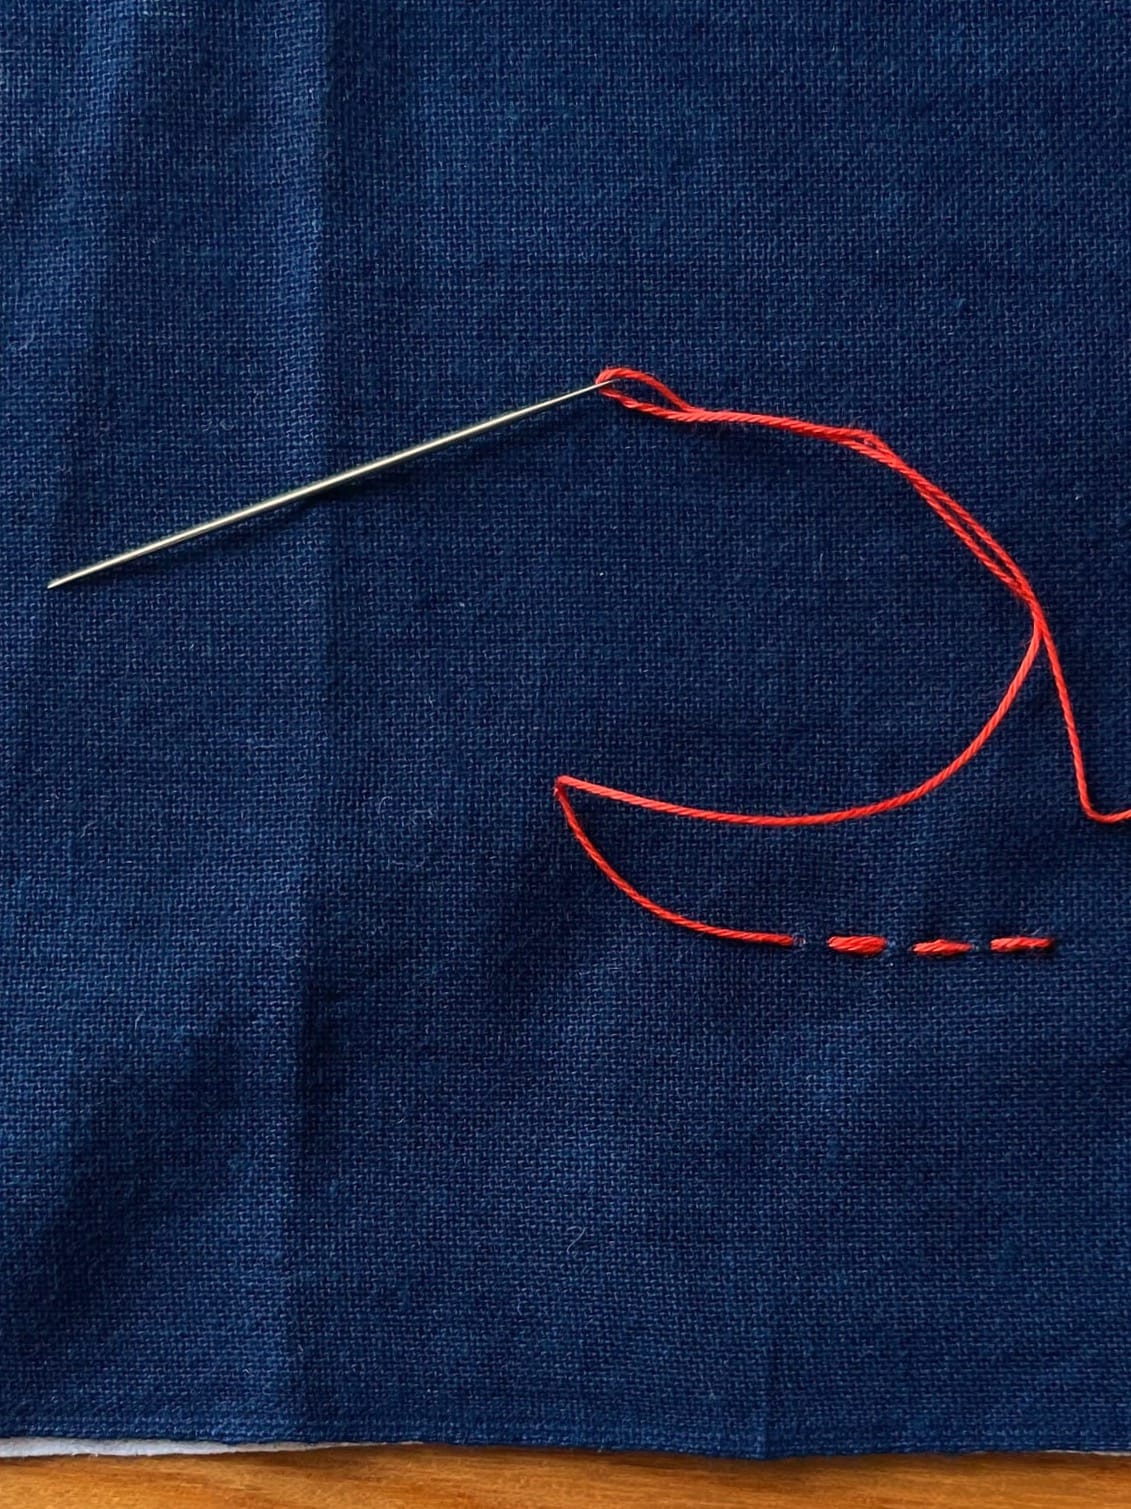
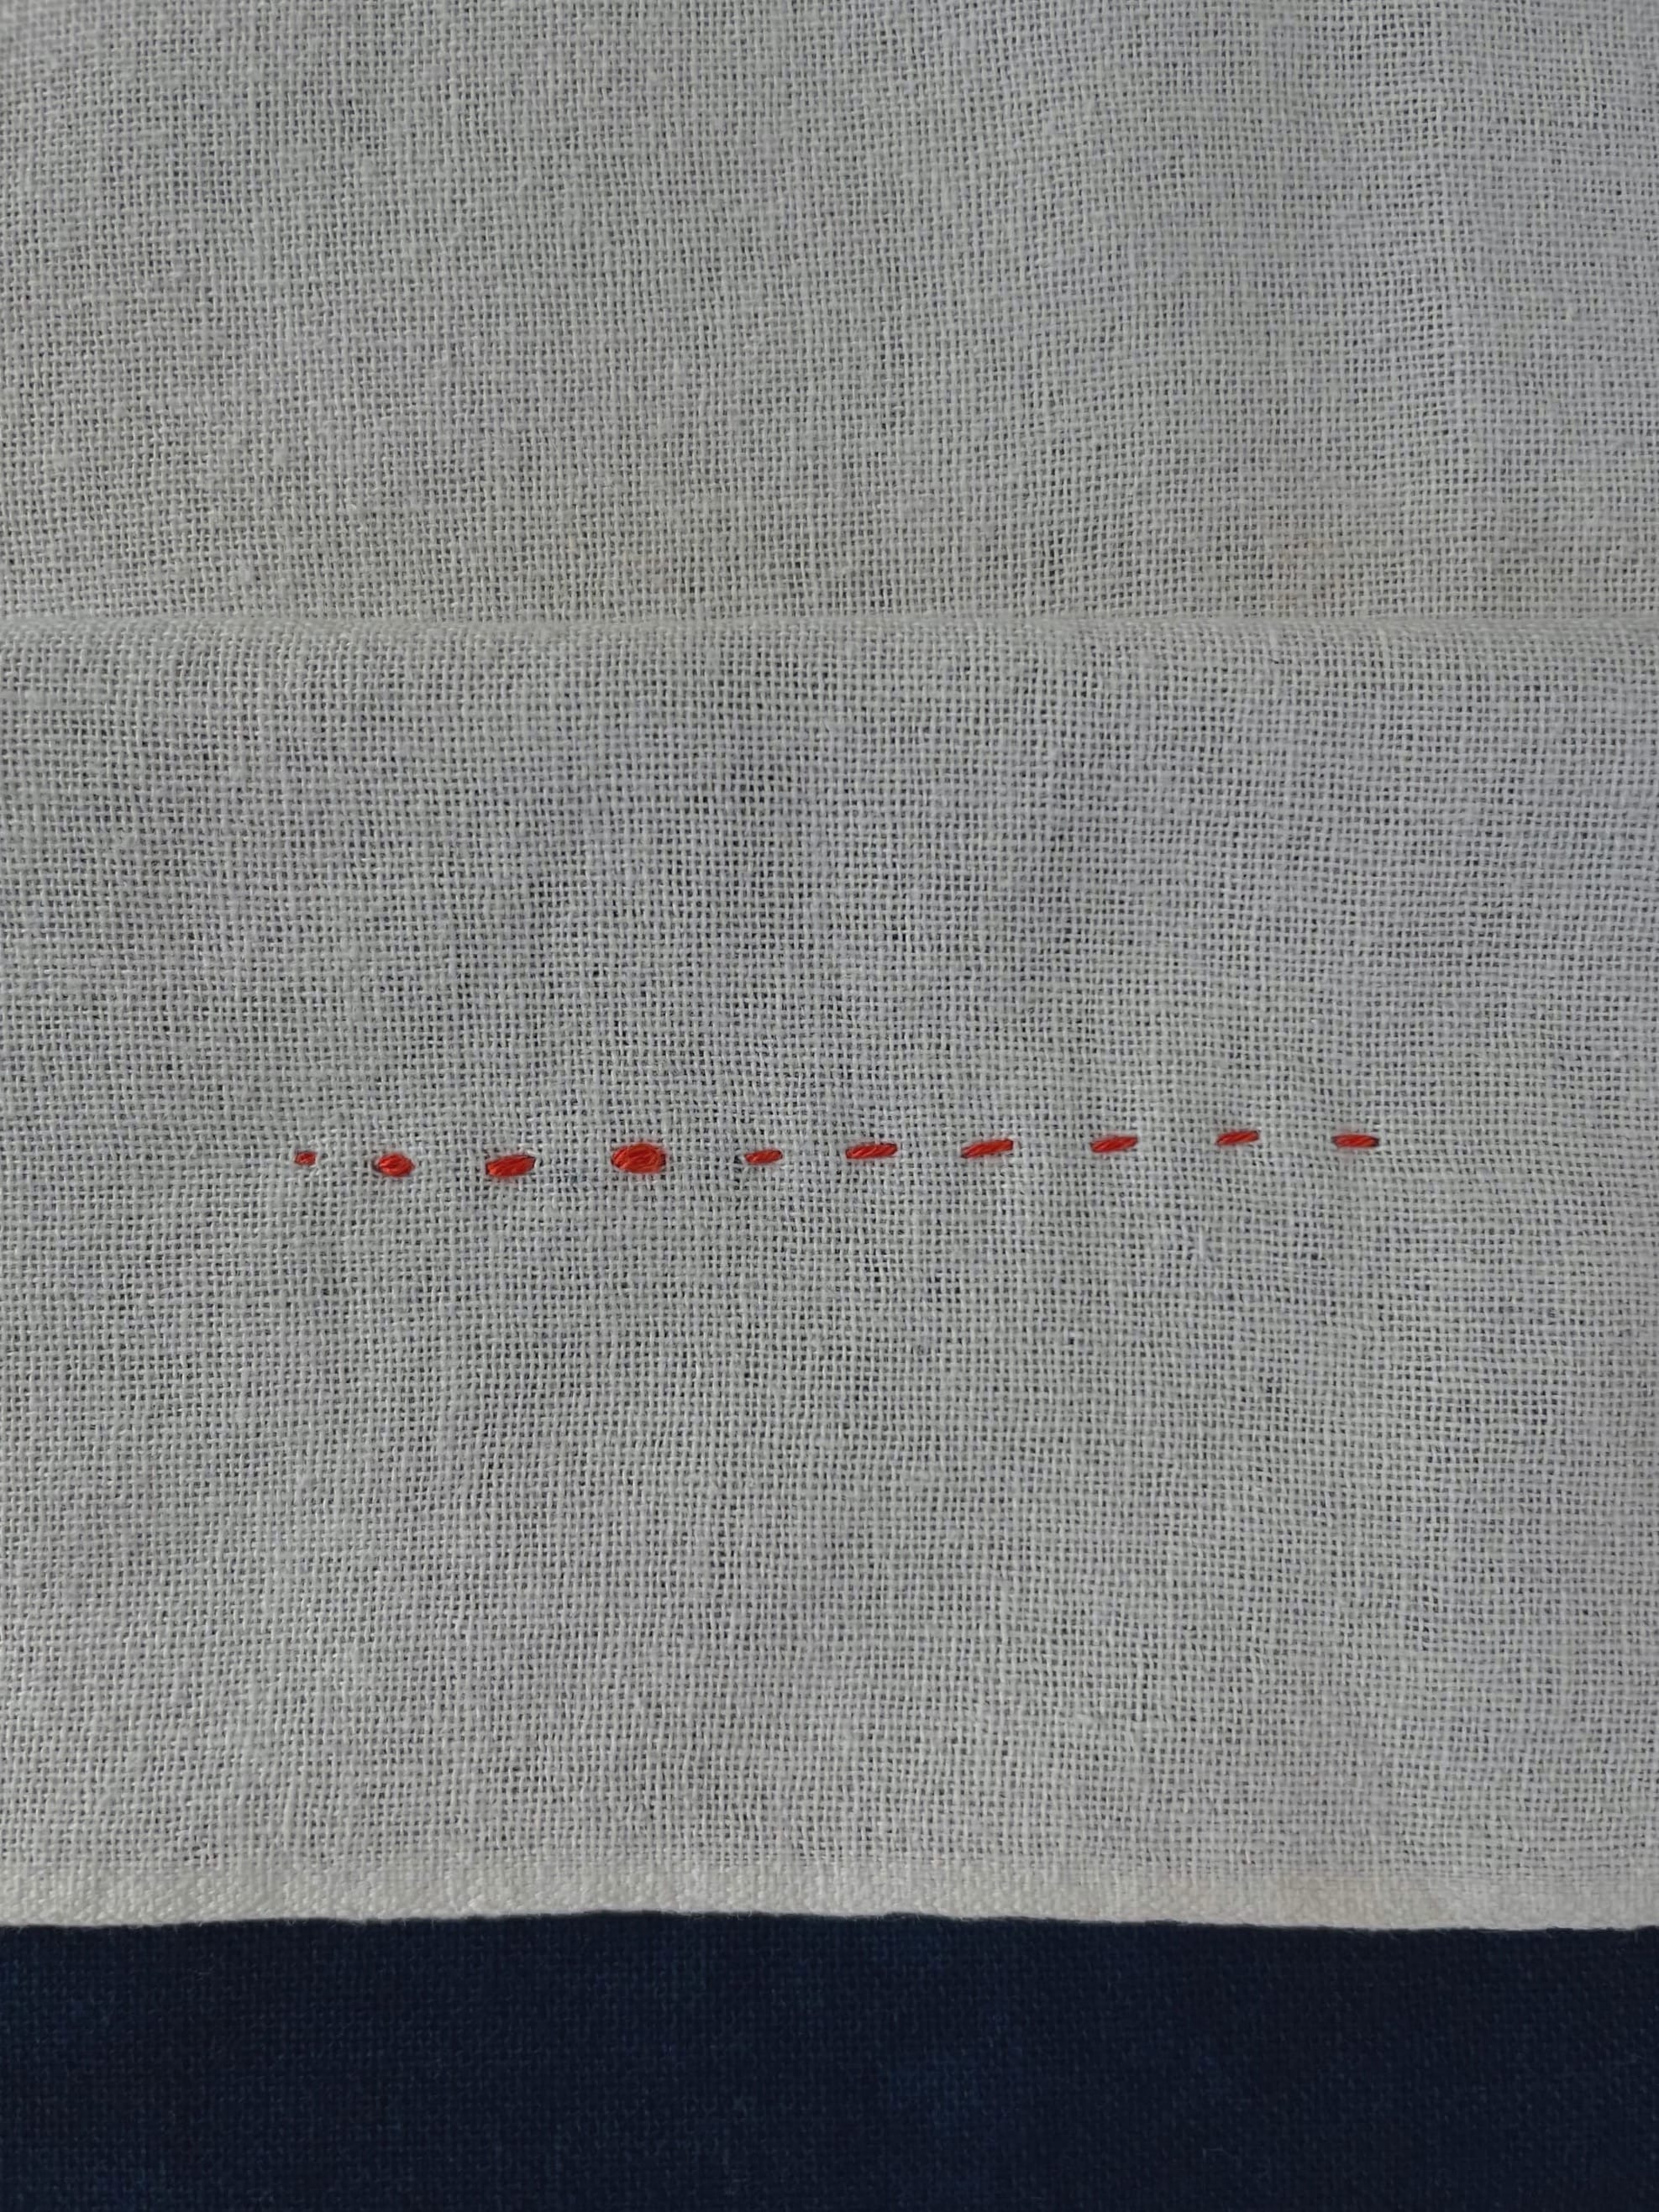
How to start sashiko stitches
How to start a sashiko stitch without a knot
Pick up a couple of stitches coming from the opposite direction you want to go.


Start a sashiko stitch with a knot
Tie a knot in your thread and go in your fabric from the wrong side, so the knot can't be seen on the pretty side. Important point: Leave a tiny bit of slack!
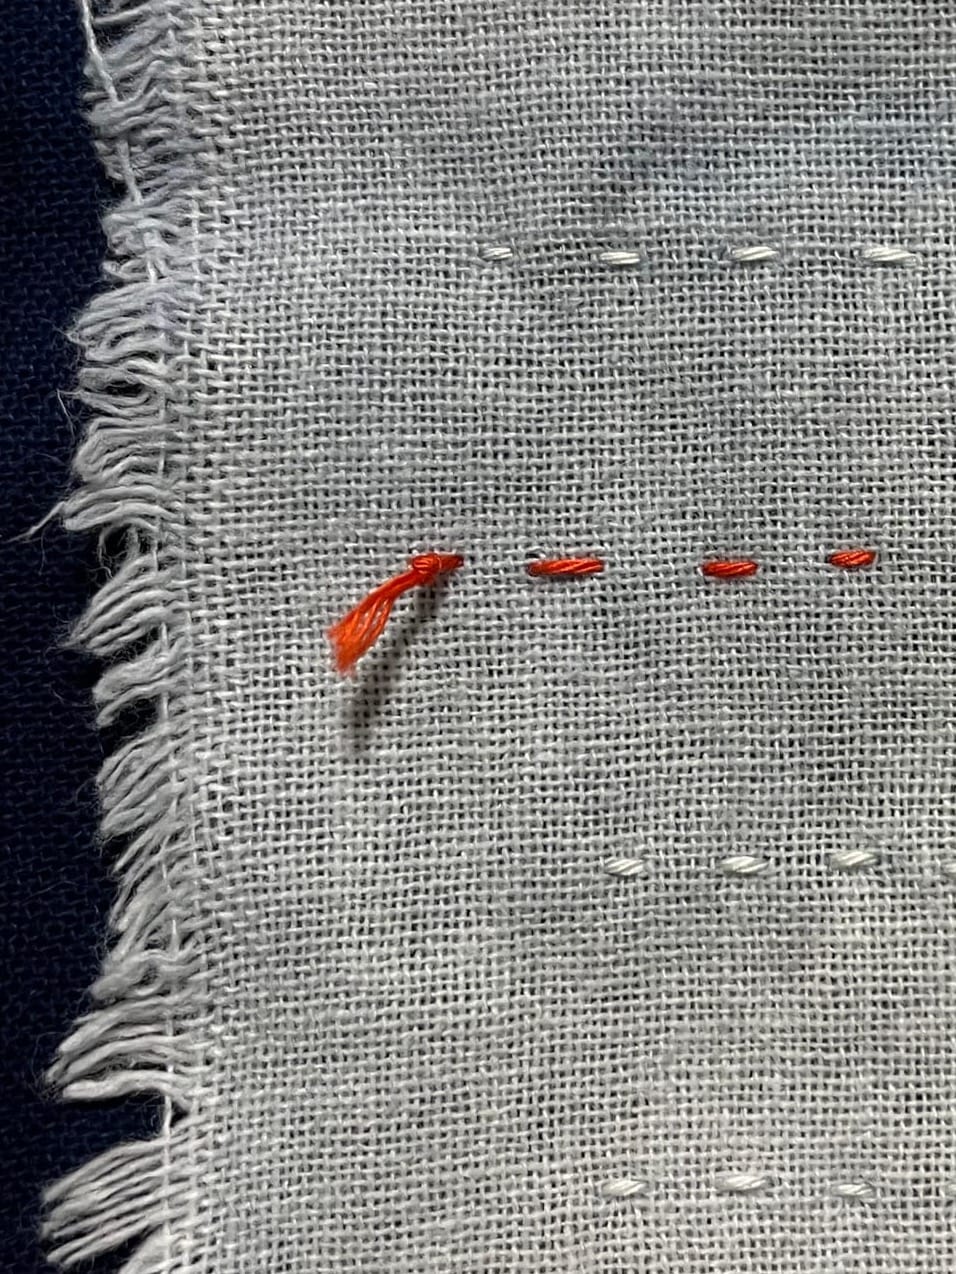
If you put a patch on the knee of your favorite denims, maybe avoid knots for a more comfortable wearing experience? But really, both ways are fine.
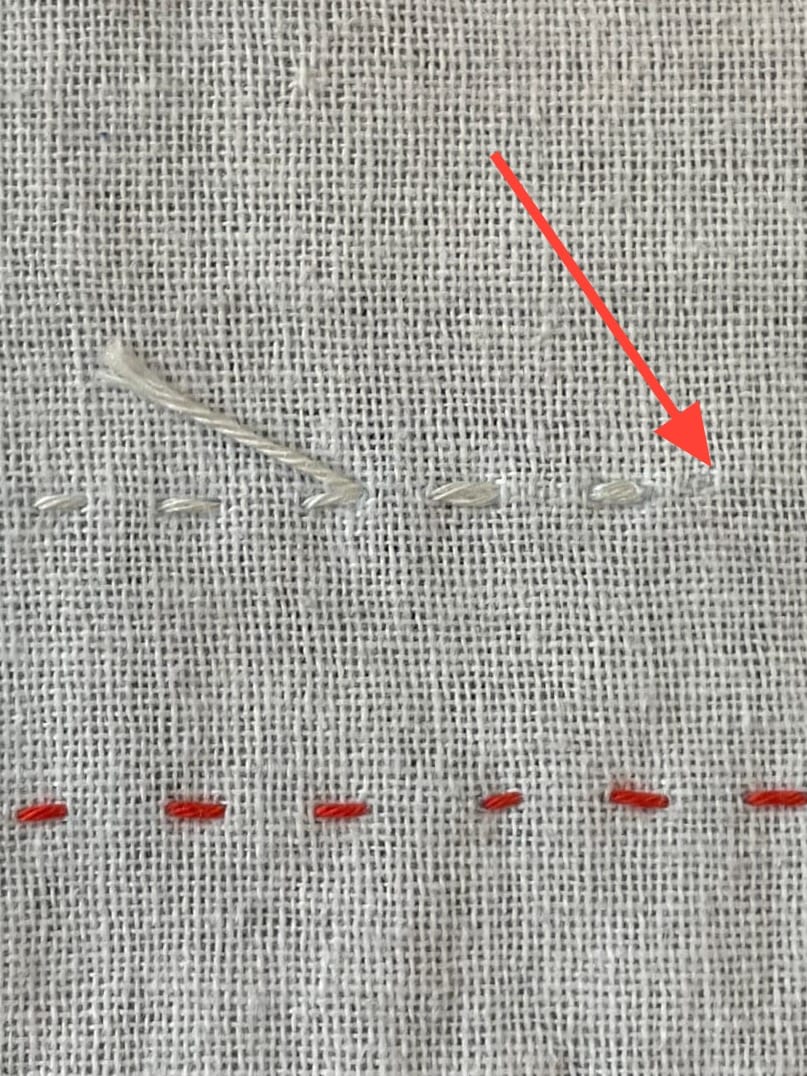
How to end sashiko stitches
You end sashiko stitches the same way you start them either by retracing your stitches or by using a knot.
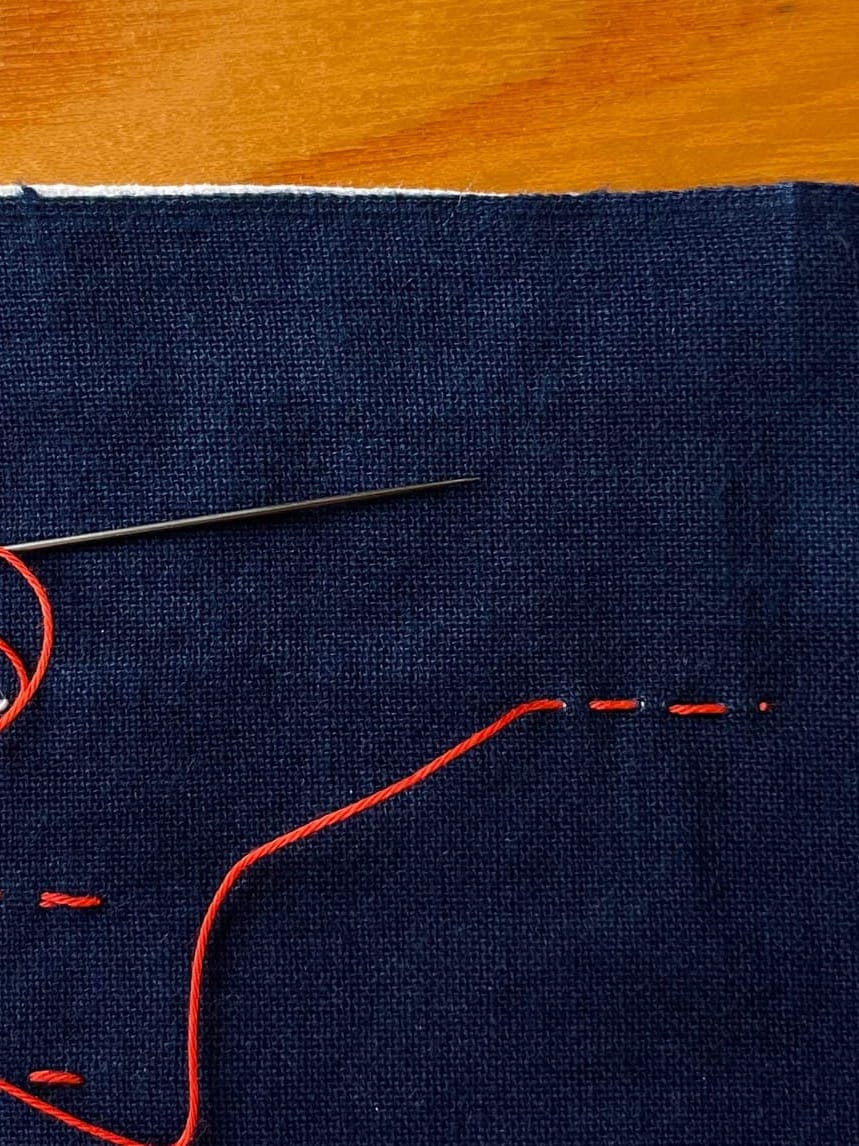
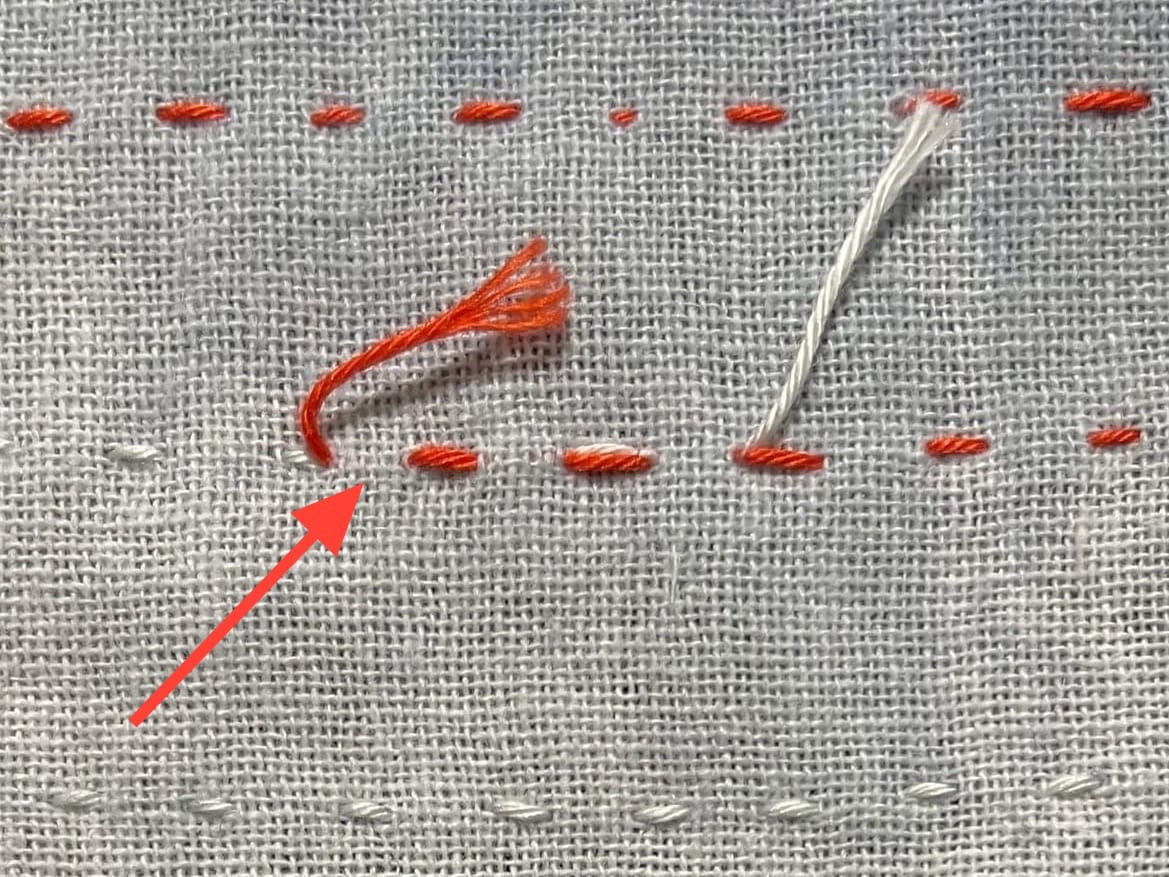
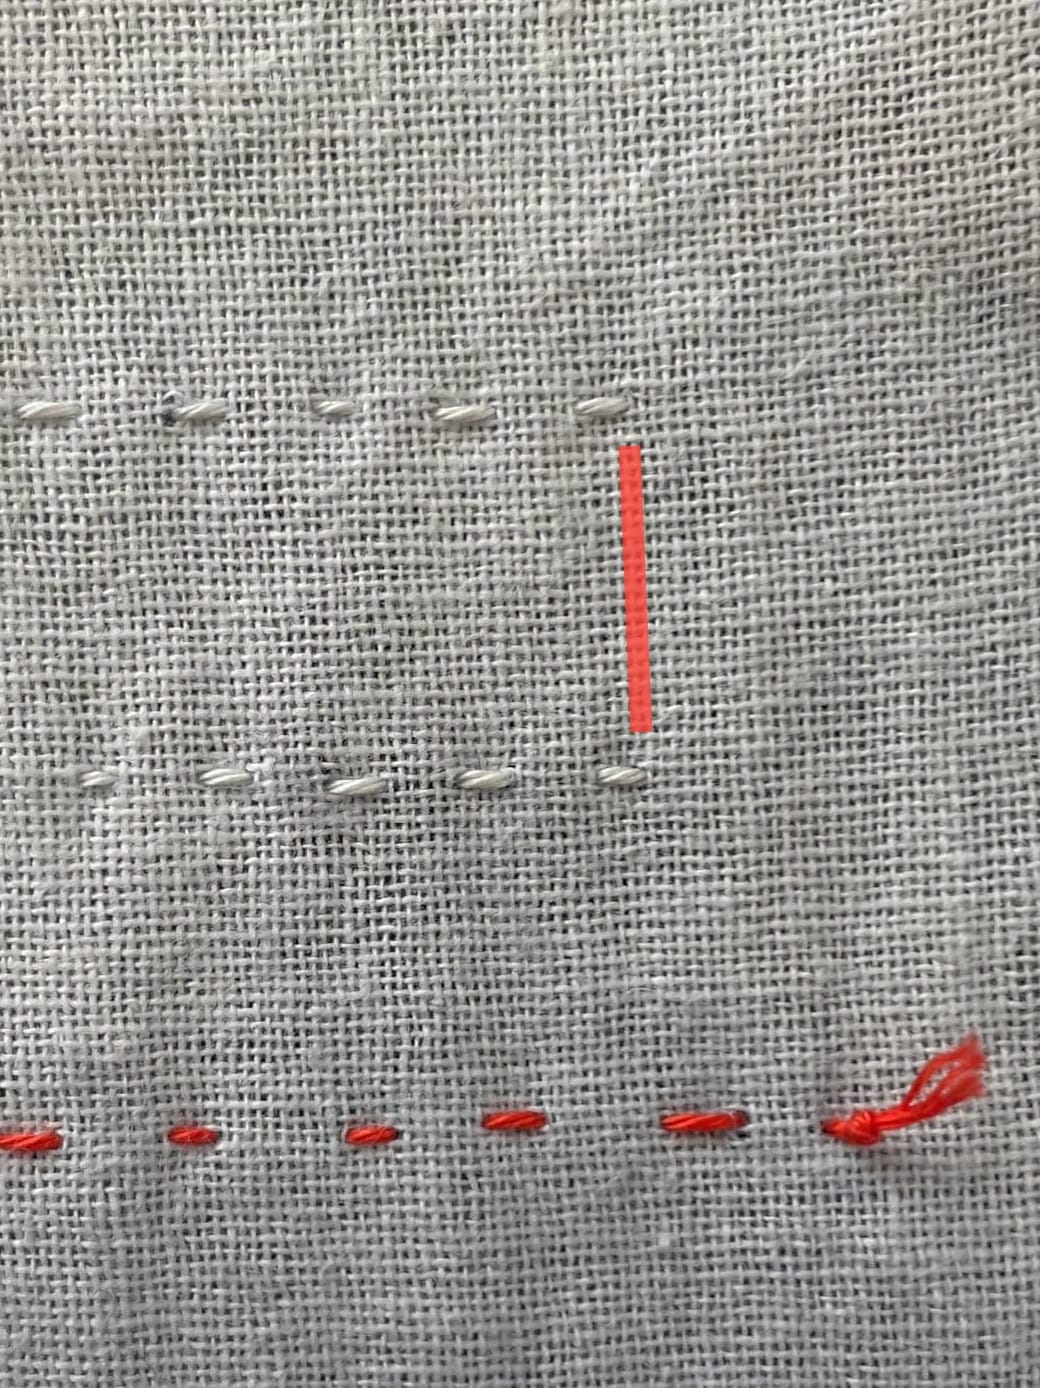
How to end a sashiko stitch without a knot
The arrow indicates the last stitch where the needle came out on the wrong side. Same as when starting sashiko, you retrace three to four stitches to secure them.
How to end sashiko stitches with a knot
Again, leave a little slack in between knot and fabric.
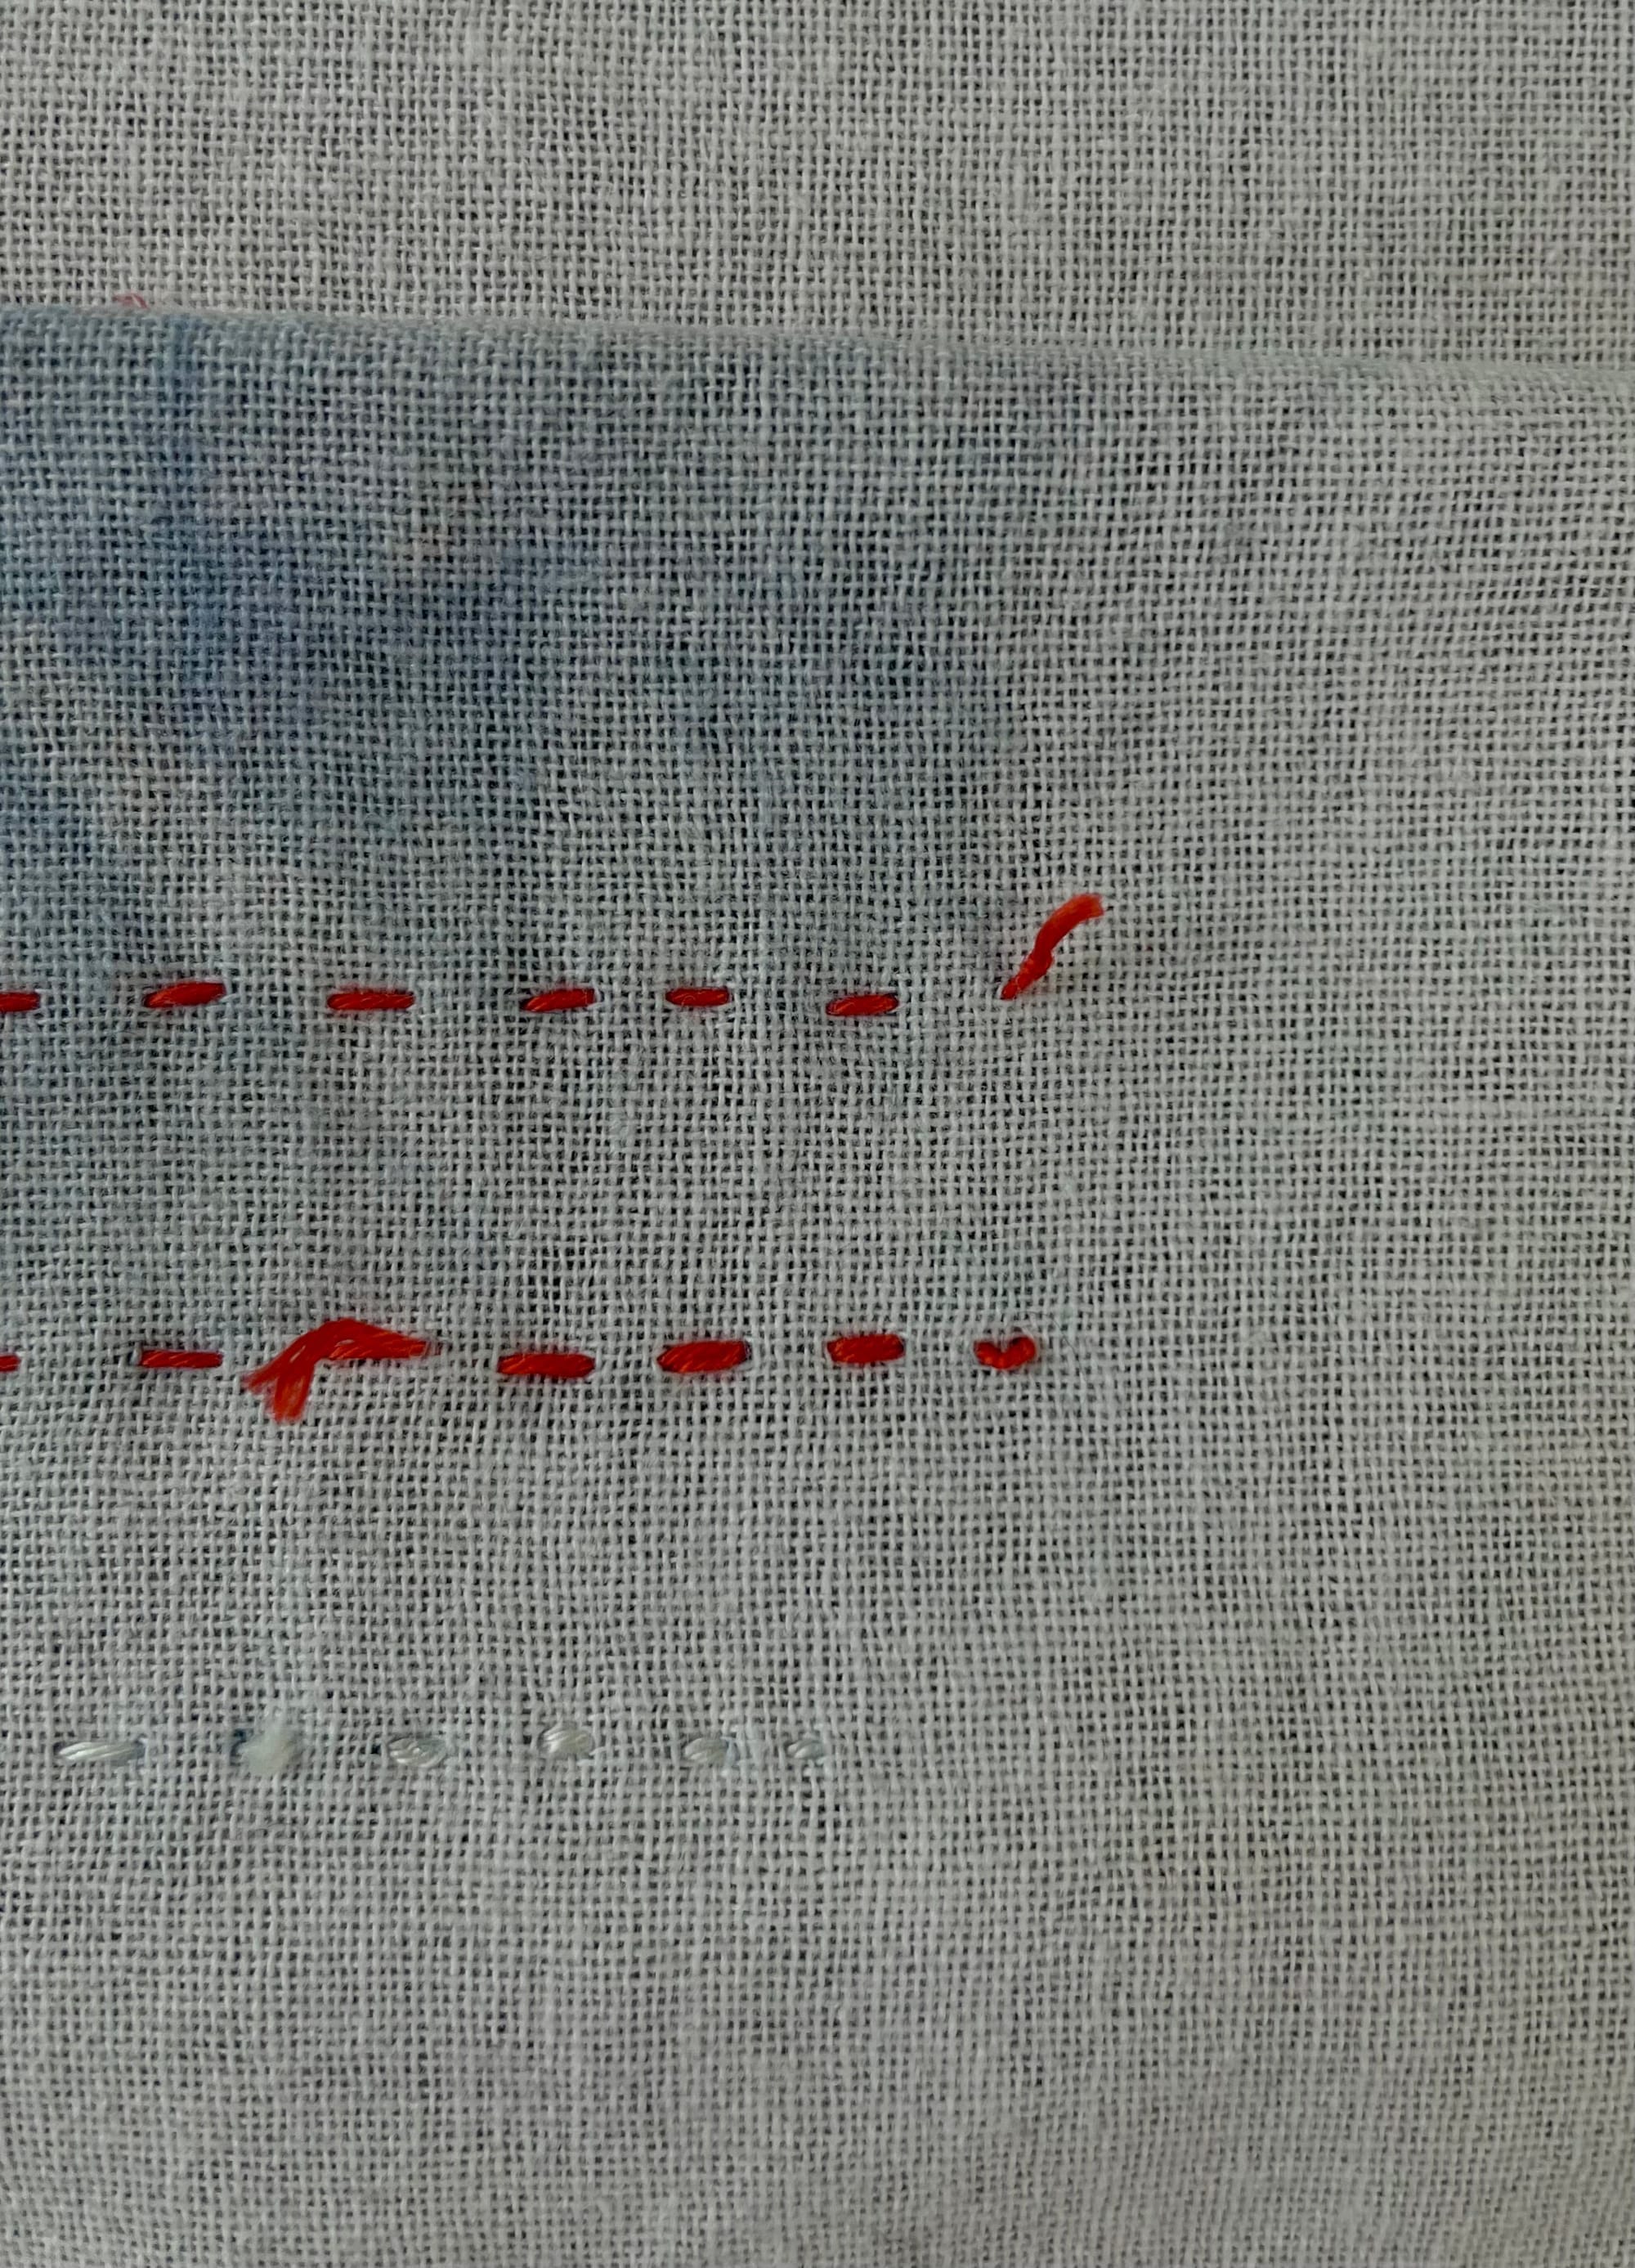
How to connect threads in sashiko
There are more ways to connect threads. This is the way most stitchers do it:
Let your thread run out, leaving around 2cm coming out the wrong side. Retrace three to four stitches and start with your new thread.
How to carry threads in sashiko
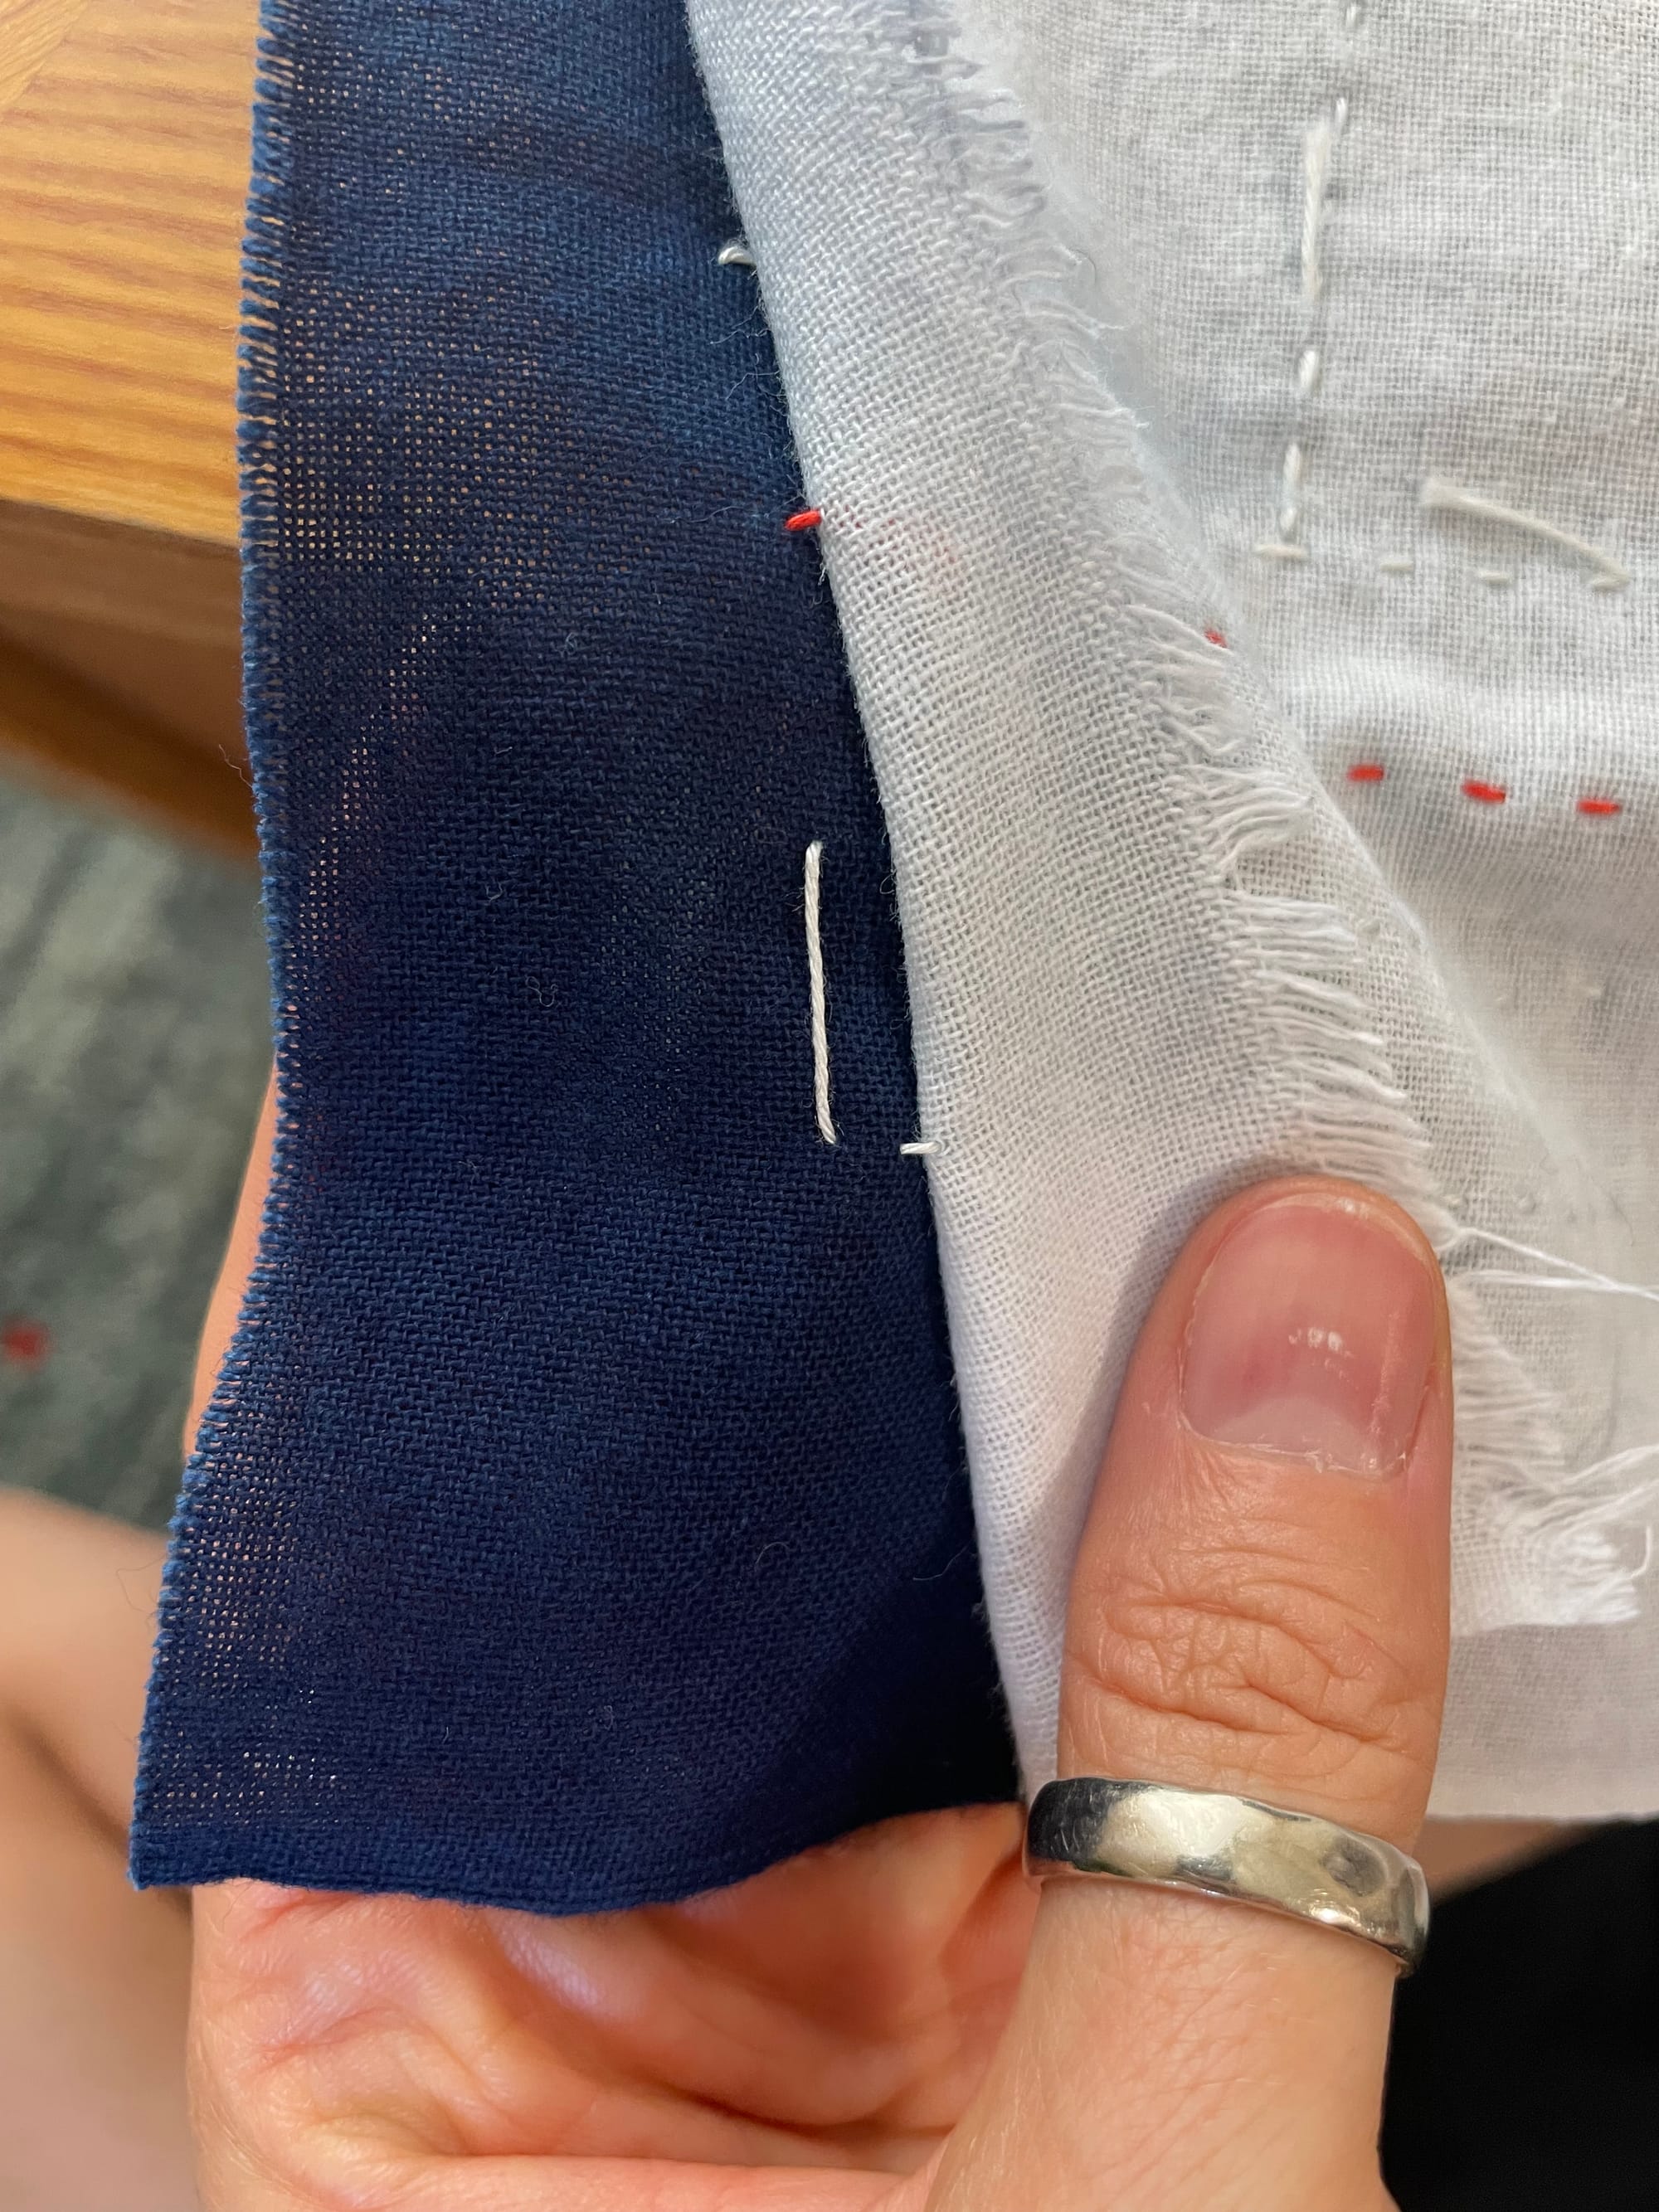
How to hide carried thread between two layers in sashiko
If you use two layers of fabric, you can carry the thread in between the layers. It doesn't matter as much how far you carry your thread in this case. You're very unlikely to pull it. Just make sensible choices, not lazy ones.
How to carry thread in sashiko
The rule of thumb is to let your thread only travel 5mm. This rule is to avoid pulling threads.
When you carry thread, make sure to leave a little slack. Otherwise, the thread may start pulling the fabric after a couple of wash cycles.
I never leave slack, so I would like to emphasize how important it is. The thread will eventually pull the fabric. Unless this is what you're going after, leave some slack.
Corners and crossings in sashiko
How to let sashiko threads cross each other
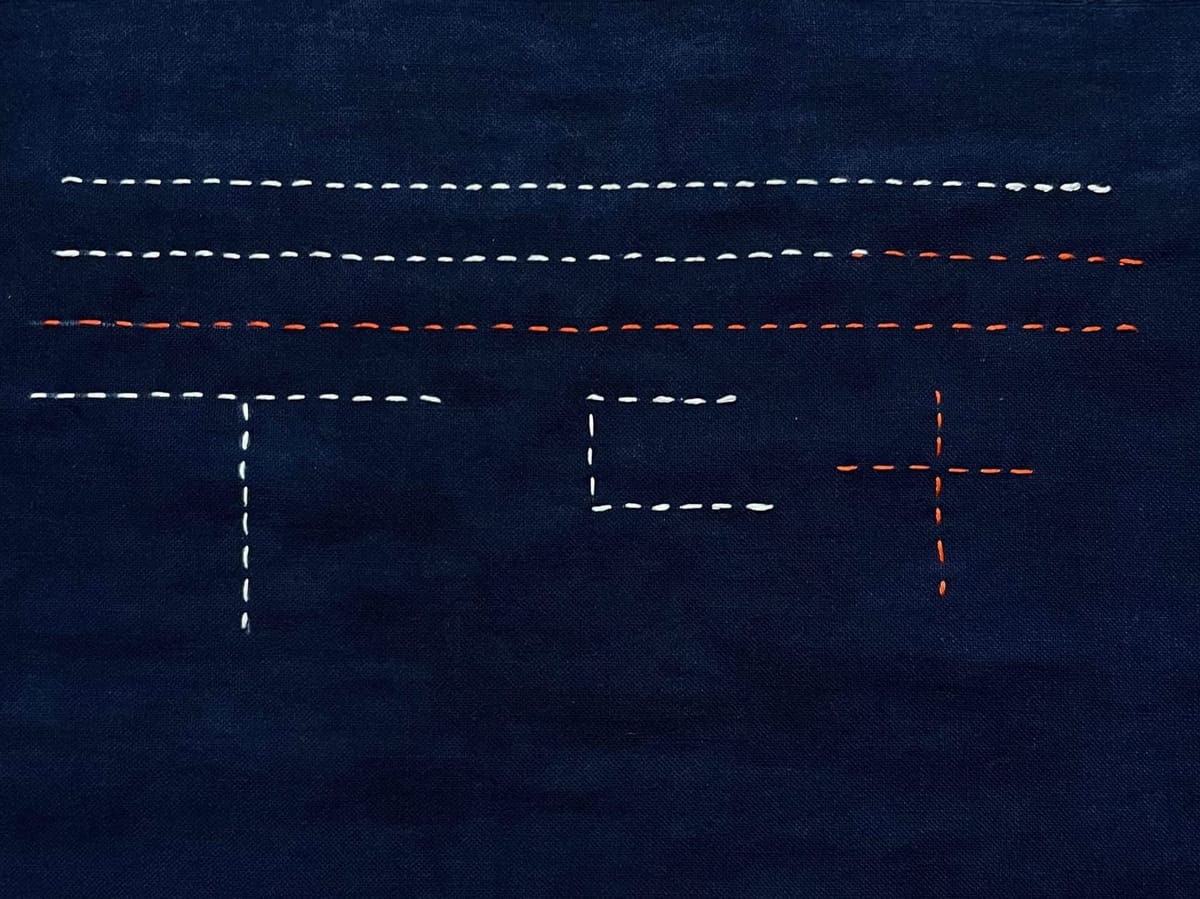
Unless the pattern specifically asks for tiny crosses, avoid letting threads cross over one another. Super simple.
It doesn't matter at which angle the threads cross, simply leave a little space in the middle.
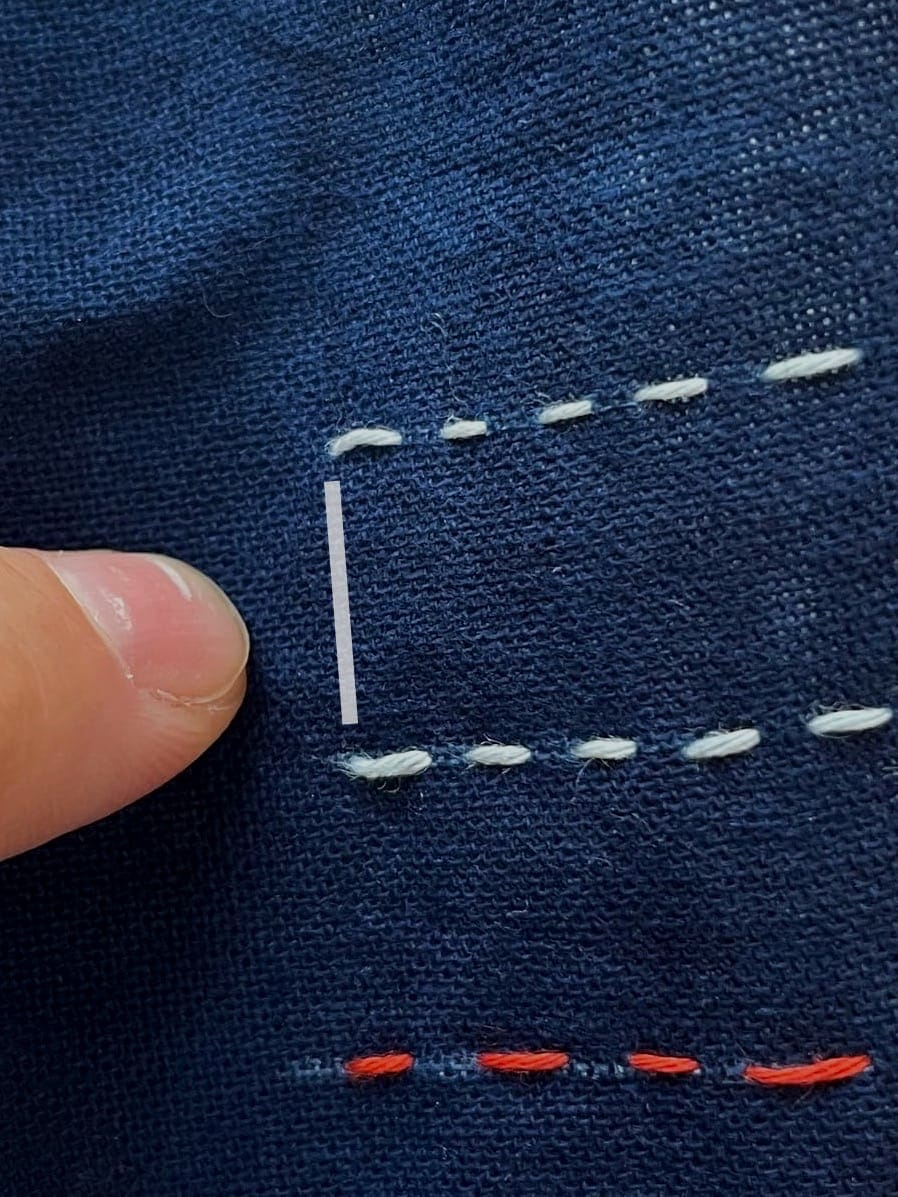
How to achieve neat corners in sashiko
Whenever you turn, make sure that either a stitch is going in at the corner, or coming out at the corner. Otherwise the corners will look round from a distance.
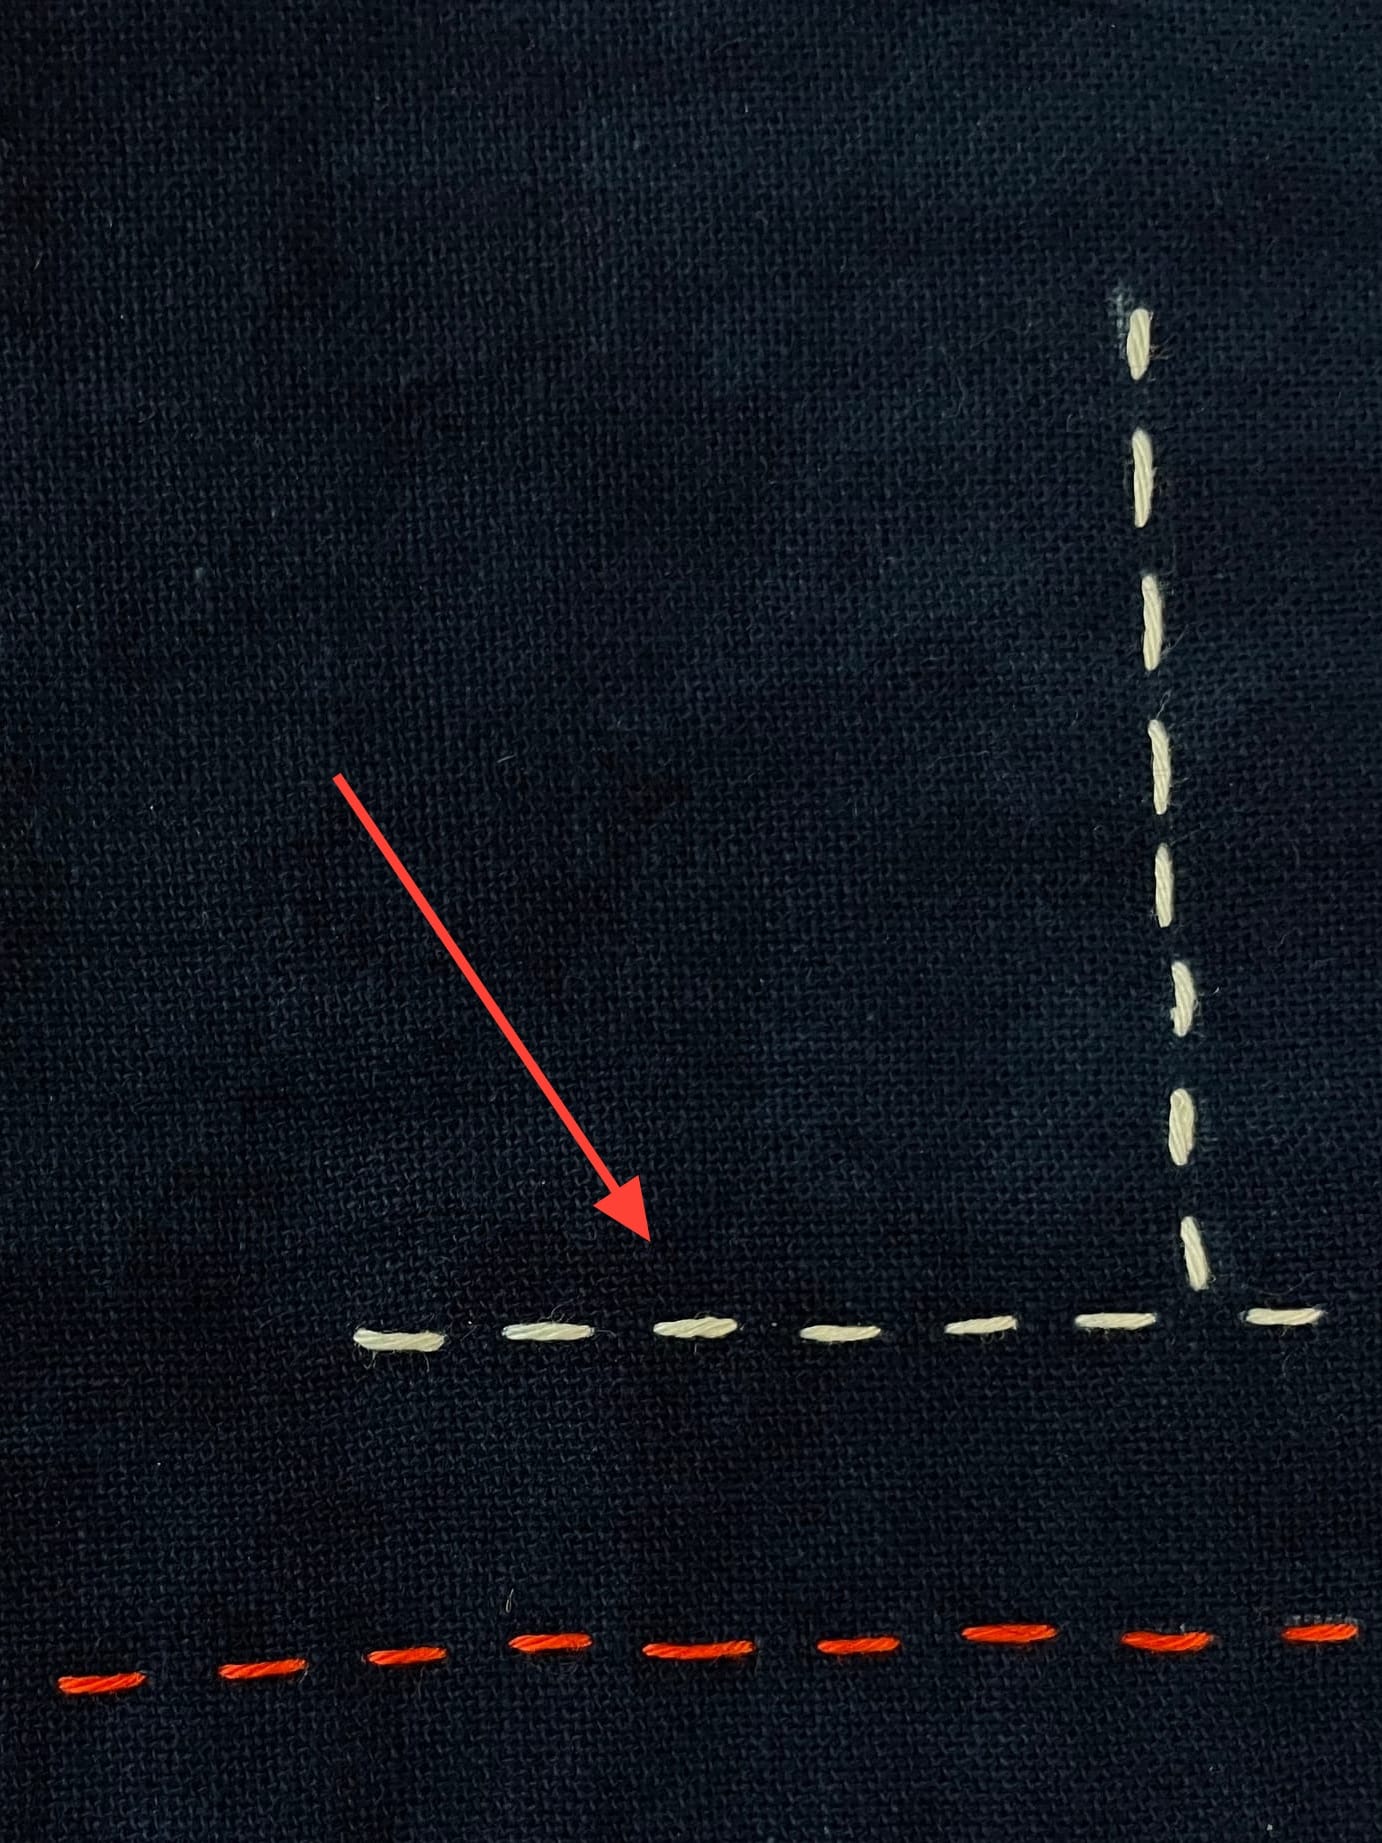
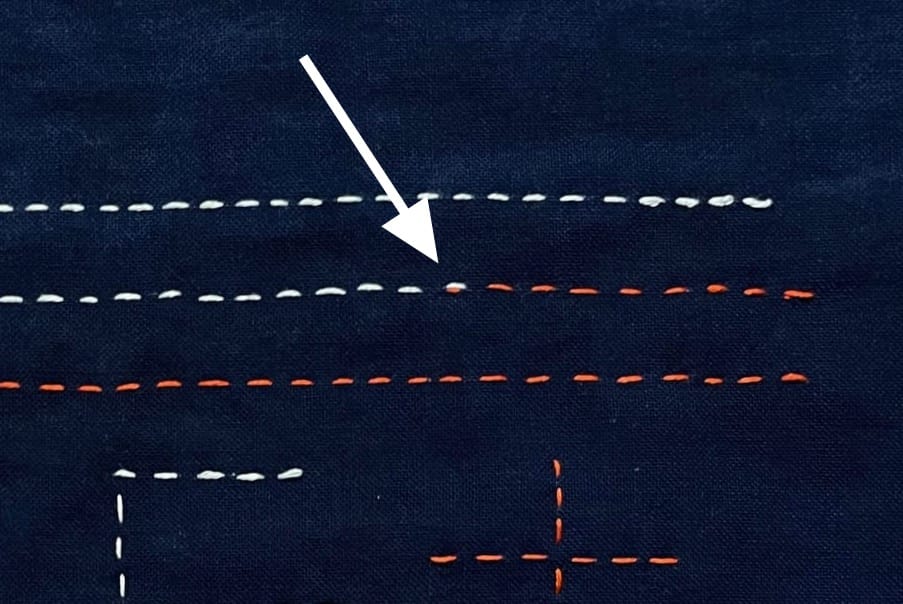
How to let threads come together in sashiko
If one line of stitches meets another in sashiko, the point where they would collide should be left blank.
Otherwise you'll get the impression that the converging line is pulled into the direction of the closer stitch.
Some final advice for your first sashiko project
The hardest part about sashiko is probably getting started. If you're anything like me, you try to get all of the tools right, you look for detailed instructions, and then feel a little overwhelmed. Don't overthink!!
Sashiko is surprisingly simple. And fun and cheap and calming.... there's a lot of good things to say about sashiko. You can figure it all out while doing sashiko. Just make several rows of stitches, see the pattern come together and find out if you like it. JUST START.
Make your project easier by using the best tools to draft a sashiko pattern onto your fabric.
If you want more tutorials, please support my blog as a paying member.
Comments ()