The right length of a stitch is dictated by the complexity of the pattern, the overall size and personal preference. | A guideline for beginners
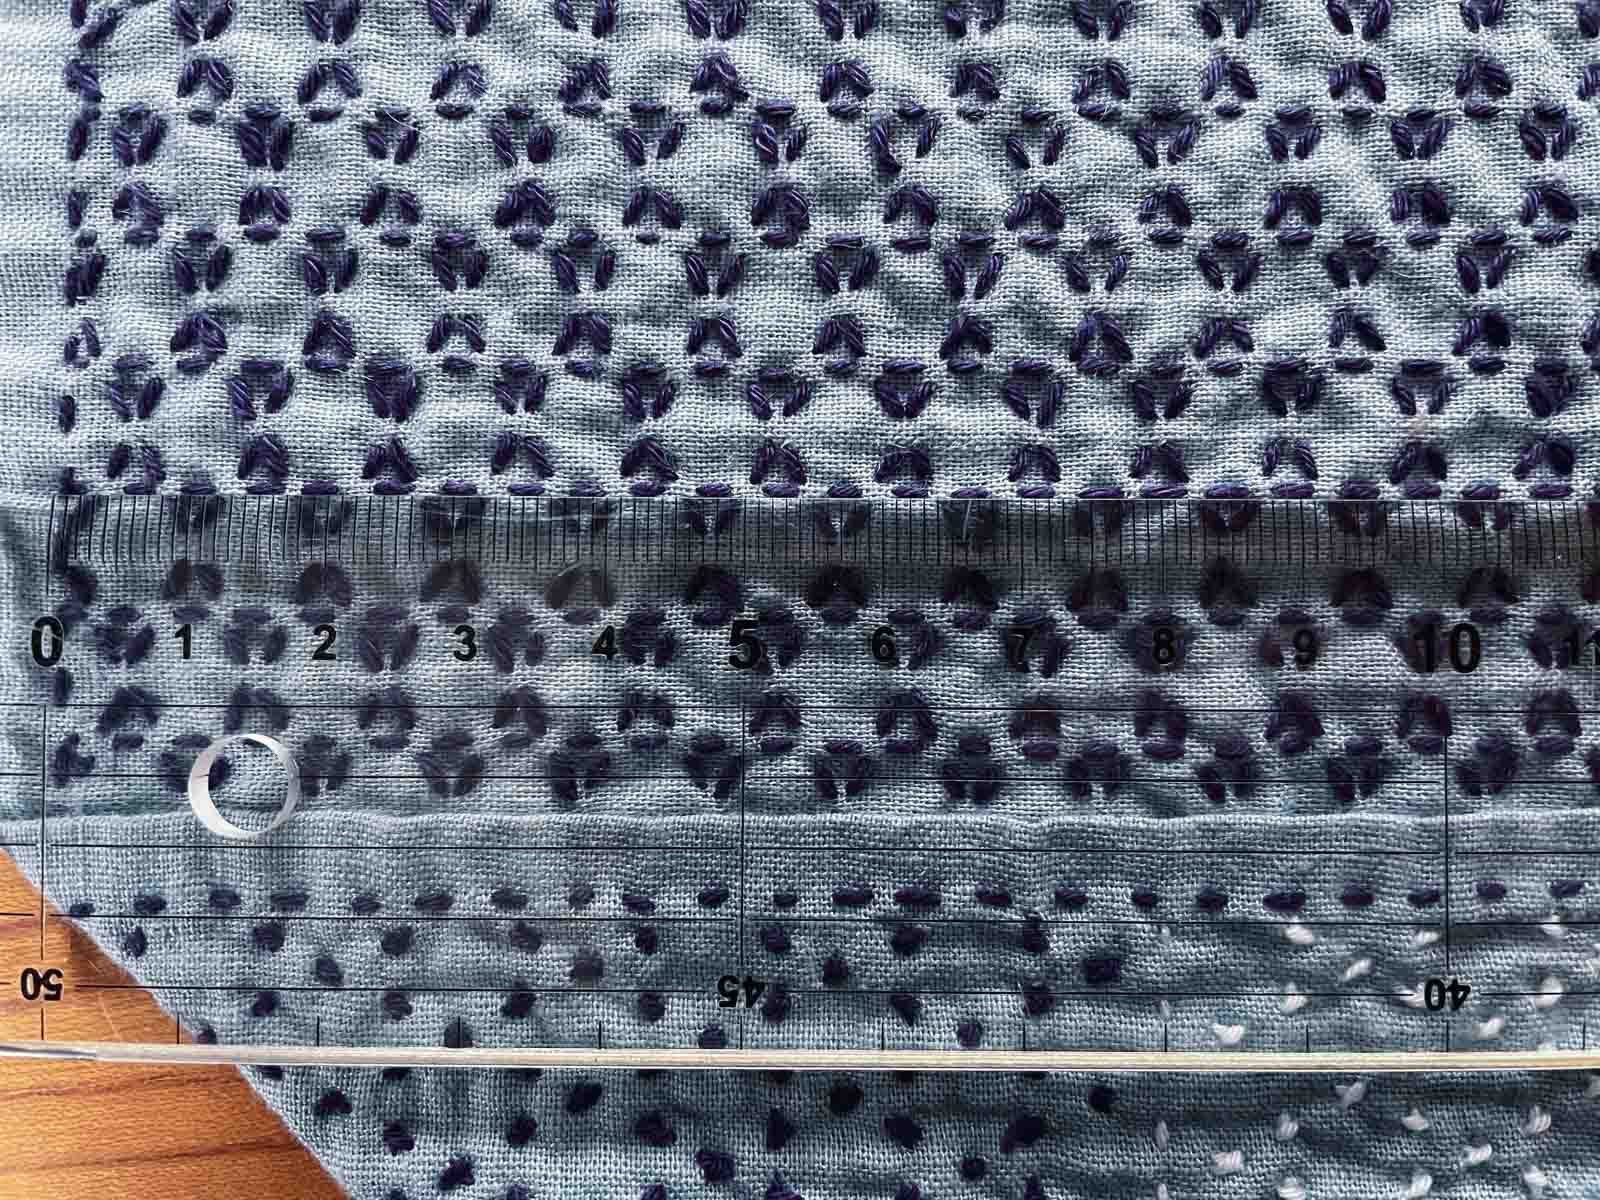
Sashiko uses various stitch lengths, most common are lengths of about 2mm-7mm, but stitches may be up to 10mm-15mm on the wrong side. The right length of a stitch is dictated by your pattern, the overall size of the pattern and your personal preference.
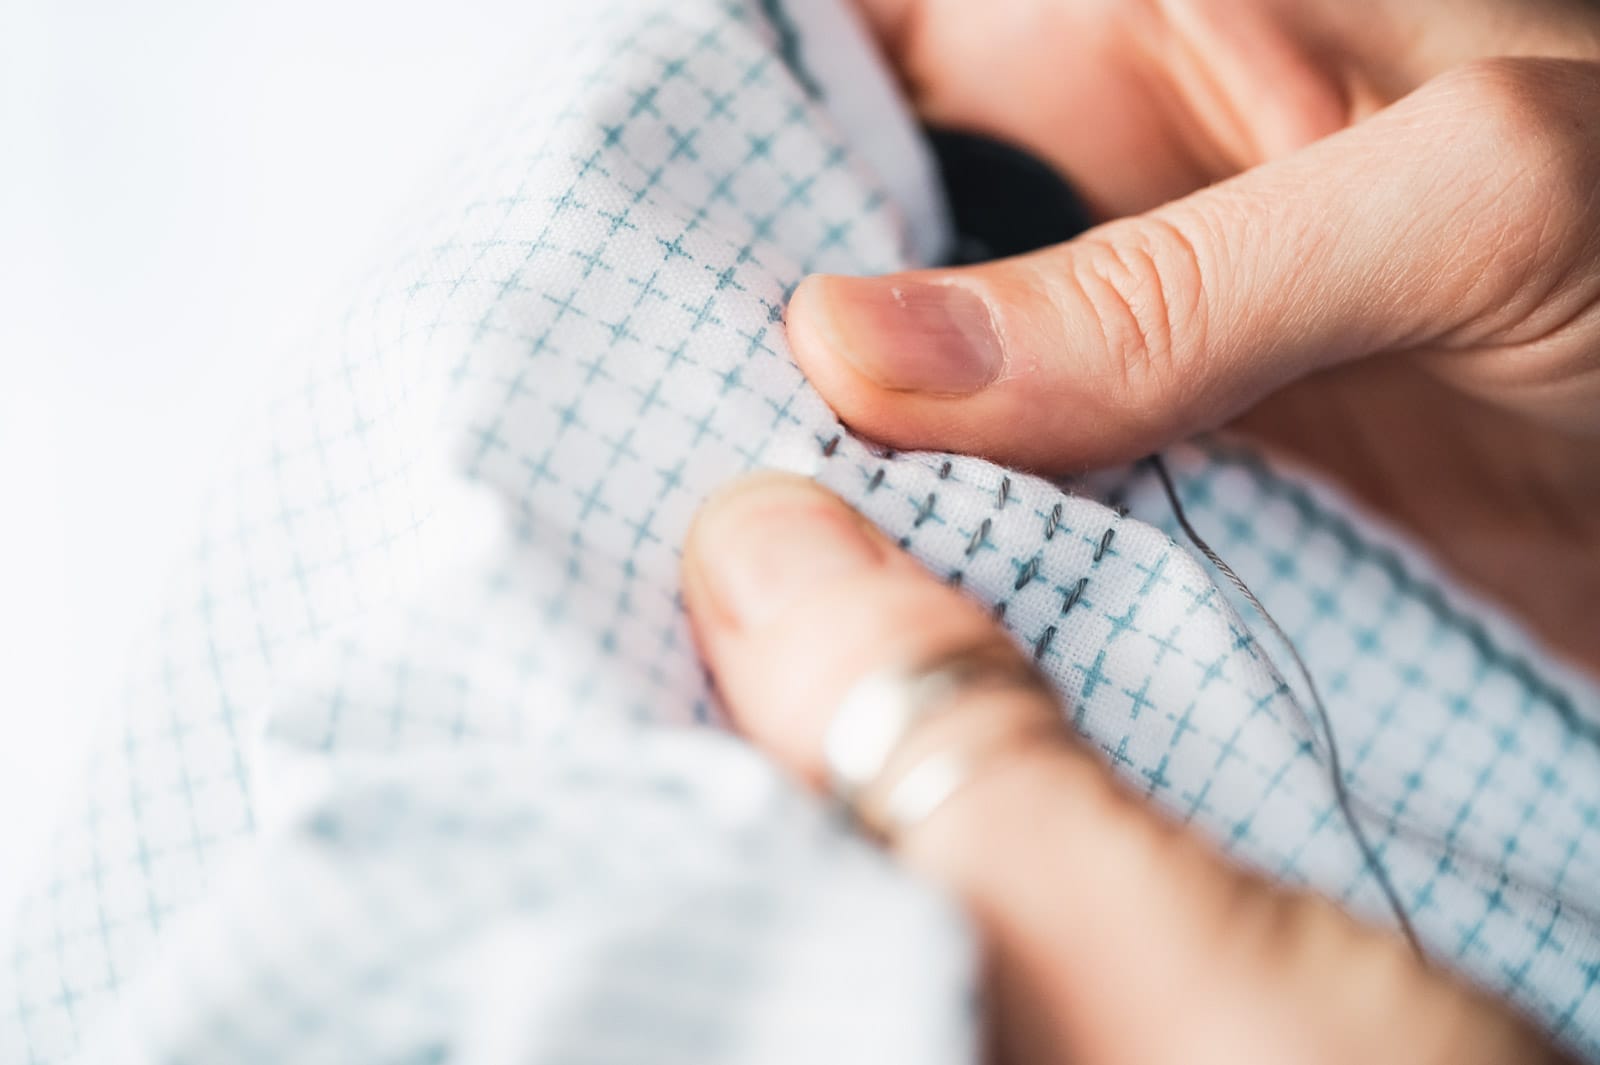
While the appropriate length is up for you to decide, the stitches are supposed to be even throughout the pattern.
Some patterns and styles use stitches of the same length for the right and wrong side, but many patterns use slightly longer stitches on the right side.
Depending on the type of sashiko you are stitching, the ratio between the stitches on the right vs. the wrong side can be more important than the stitch length itself.
The right ratio of stitches on the right vs. the wrong side
The most common ratio in traditional sashiko patterns that use varying stitch lenghts is a ratio of about 3:2. This means that the stitches would be roughly 1.5 times as long on the right side of the fabric than the stitches on the wrong side of the fabric.
The golden ratio
This ratio could be unintentionally based upon the golden ratio, which appears in varous patterns in nature and has been explored since over 2000 years ago. The golden ratio is an irrational number denoted as ϕ=(1 + √5)/2 and approximates 1.6180339887, but goes on forever.
Applied usage of the golden ratio
Although there is no documented writing to confirm its intended implementation, the golden ratio may even have been applied in the architecture of the Great Pyramid of Giza.
There is a golden ratio within the triangular form with a 0.025% margin of accuracy. Even if the application of the golden ratio was not intended, it could be argued that it was applied because it was aesthetically pleasing.
This is why architects and artists, including Leonardo DaVinci, Le Corbusier and Salvador Dalí, have proportioned their works to approximate the golden ratio.
Stitches on the Run is reader-supported. When you buy through links on my site, I may earn an affiliate commission. It doesn't cost you anything extra but it helps keep my blog and my stitches running. Thanks!
The golden ratio in Sashiko
There is no writing concerning the perfect ratio of stitches in sashiko. Many patterns make use of the same lenghts of stitches on the right and wrong side but for other patterns the ratio is left up to the stitcher. In many sashiko works, the ratio is said to be approximately 3:2.
So, I can't help but wonder if the stitch-length of these sashiko patterns might have been impacted at least unconsciously by the golden ratio that fascinated and influenced the work of so many renowned artists until this day.
Stitch length in Moyōsashi
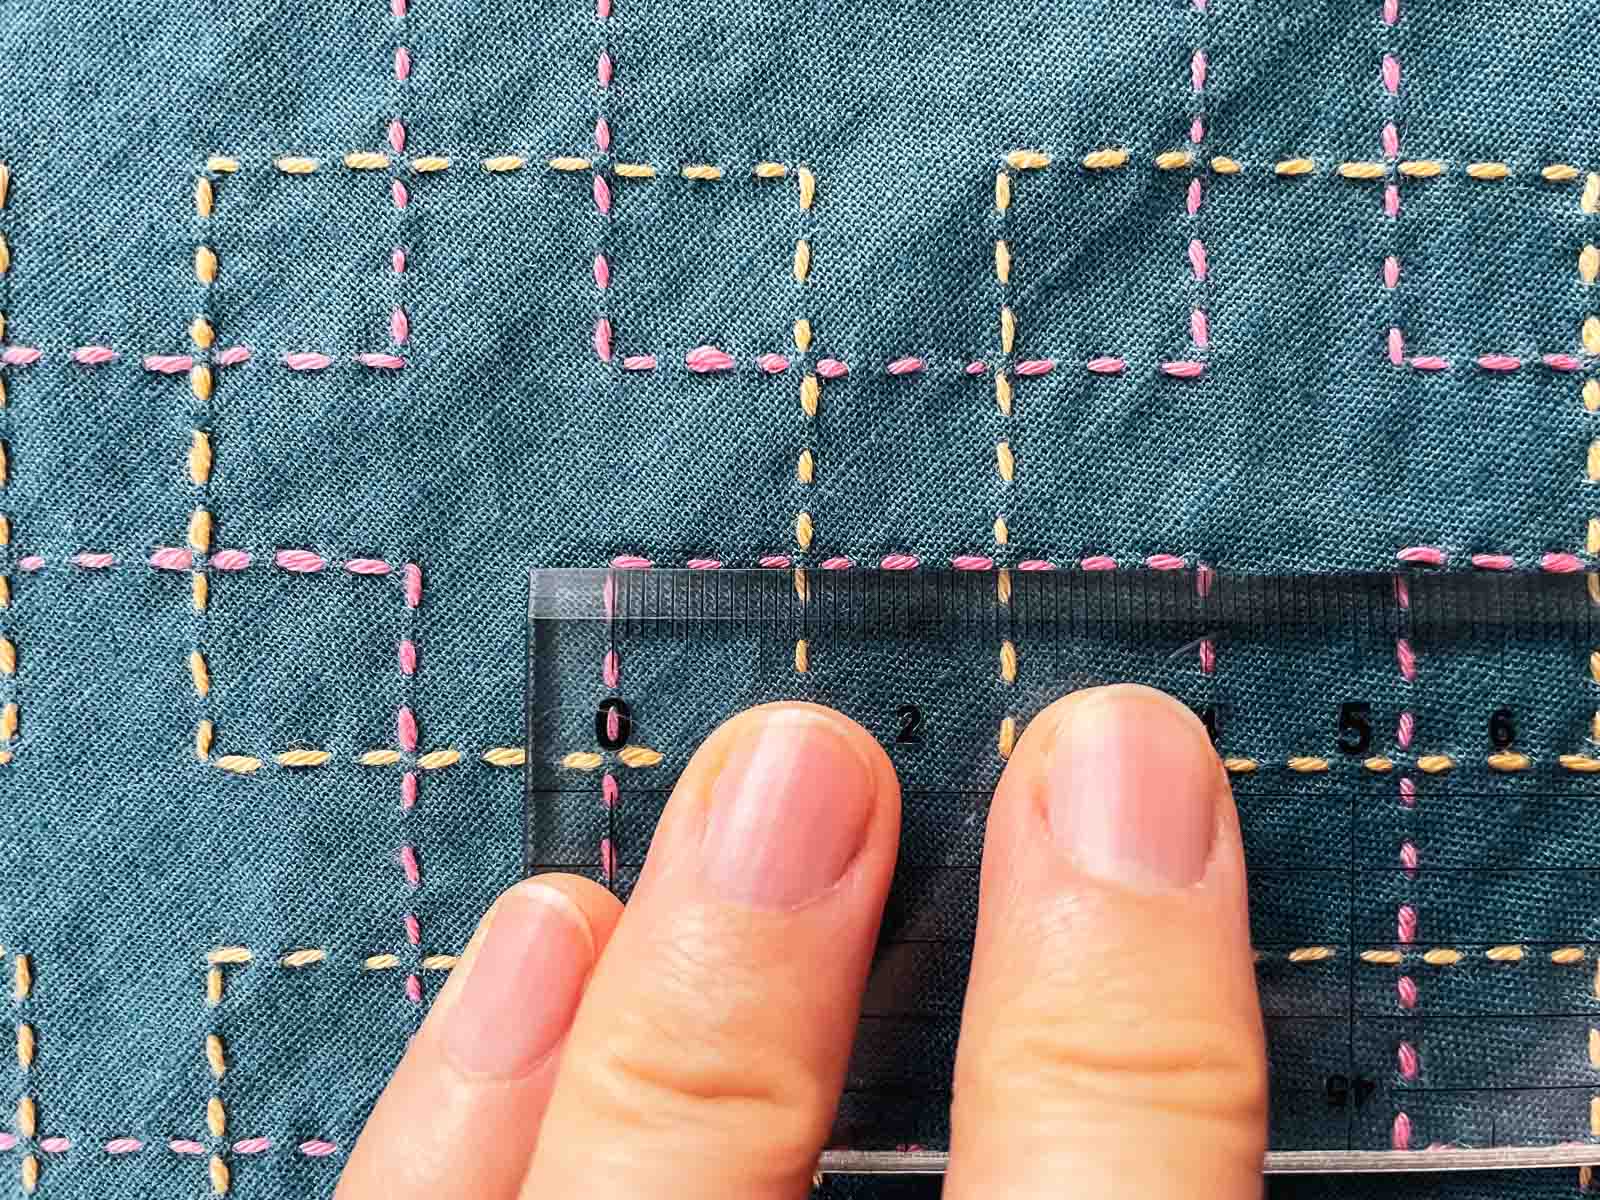
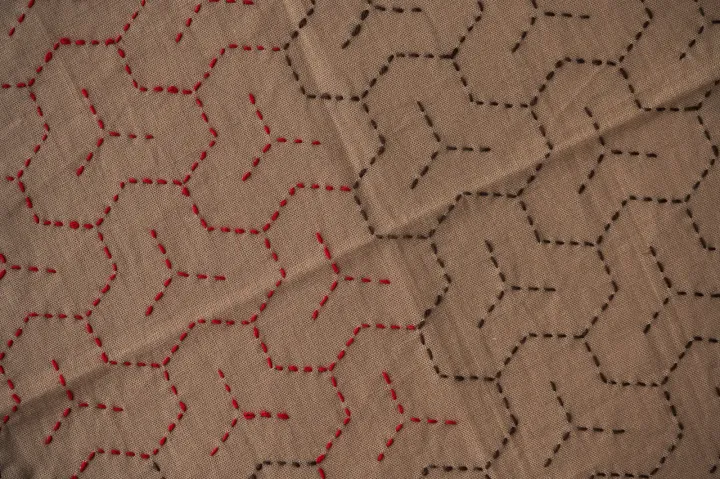
Moyōsashi leaves the appropriate length of each stitch more or less up to the stitcher. This is where the approximate 3:2 ratio of stitch-length mentioned above is important. If your stitches have the same length on the right side as they have on the wrong side, it will still be identifiable as sashiko, but it will not look quite as typical.
While there are some rules that dictate how threads are supposed to cross, there is no precise guideline on how many stitches you have to fit into a certain part of your pattern.
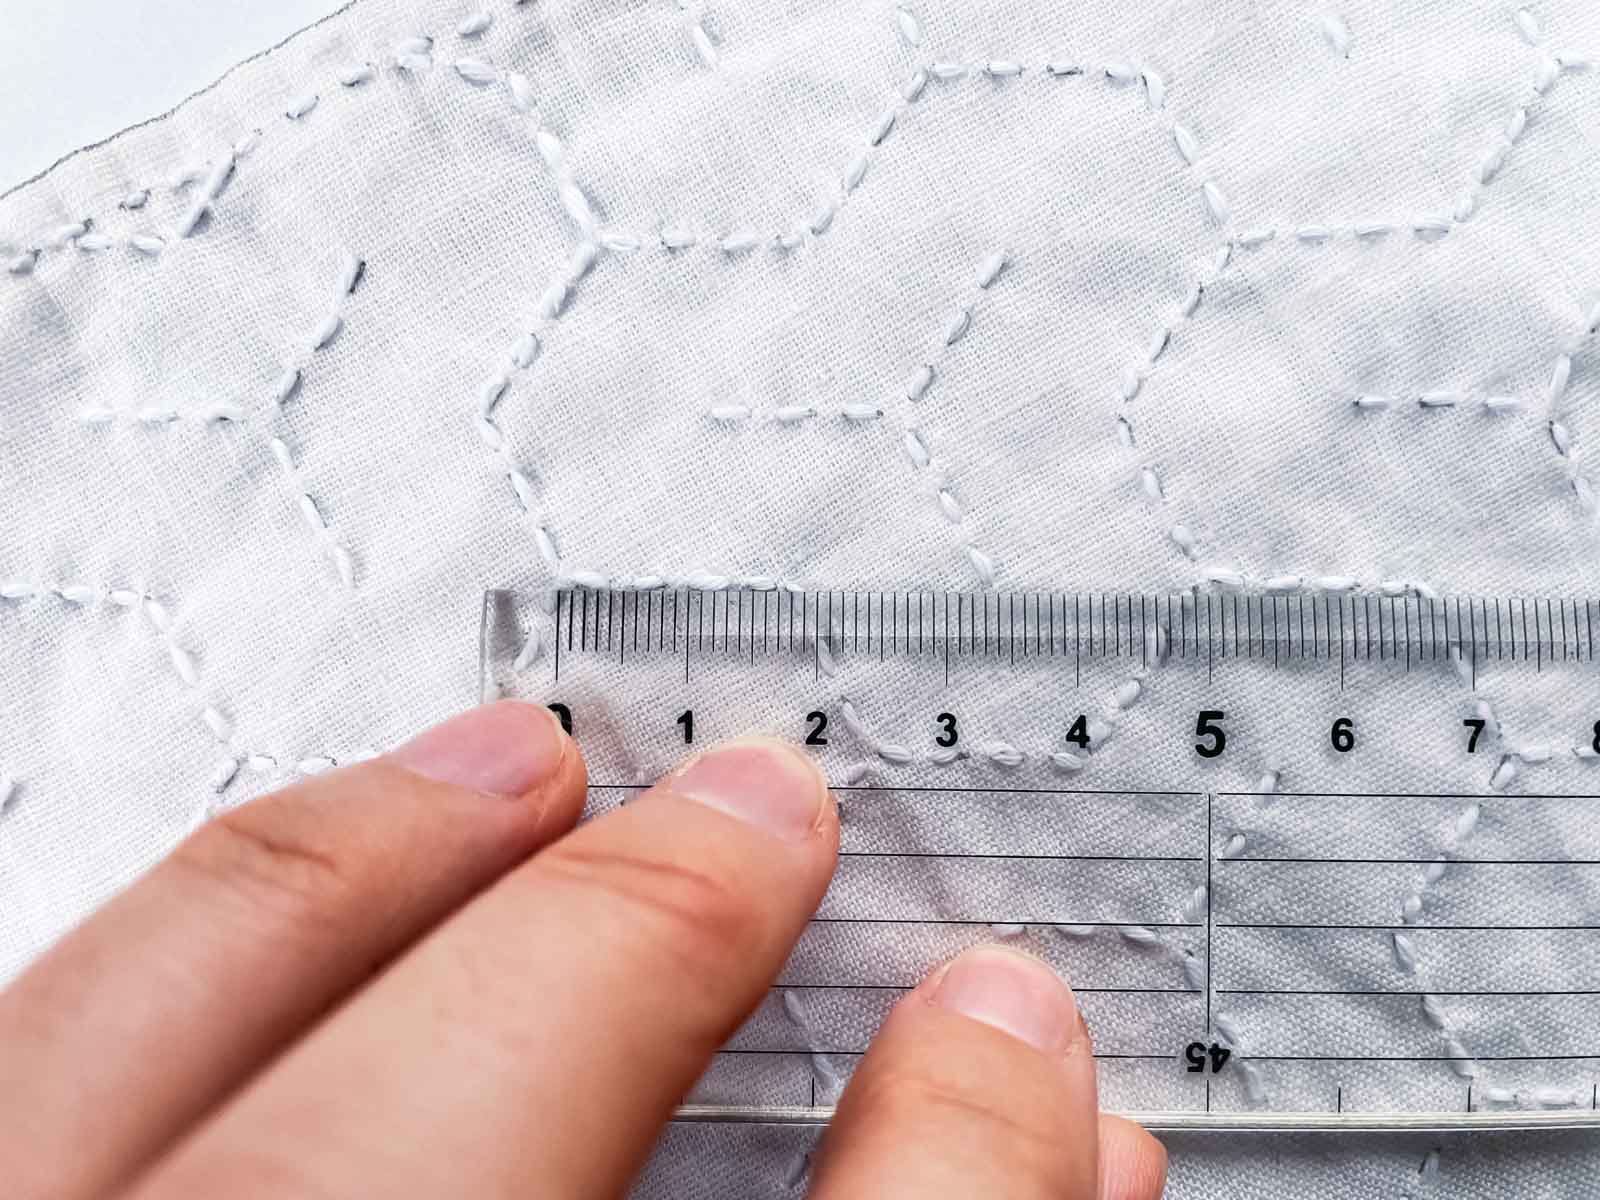
If you are unsure about the right length of your stitches, a pre-printed pattern may help you get started. If you cannot find any patterns that you like, you could instead start out with hitomesashi, where the stitch lenght is dictated by the pattern itself.
Stitch length in Hitomesashi
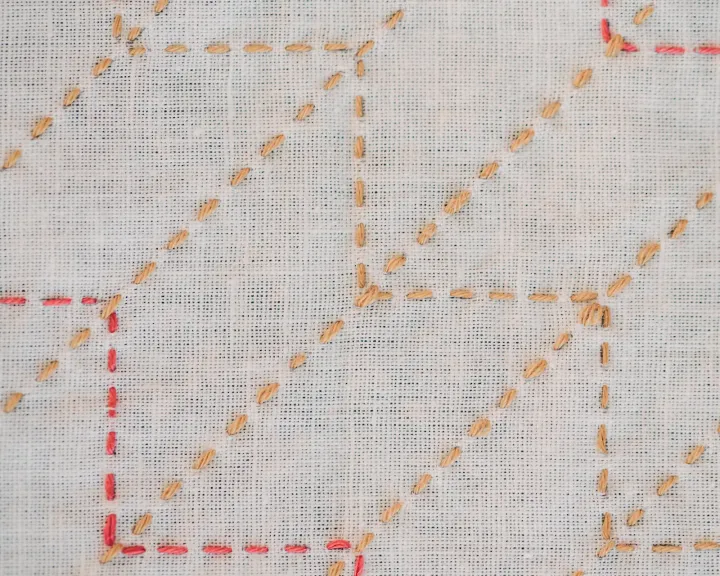
In Hitomesashi, stitches start and end on a grid-style pattern. The pattern variations evolve by leaving out set points on a grid.
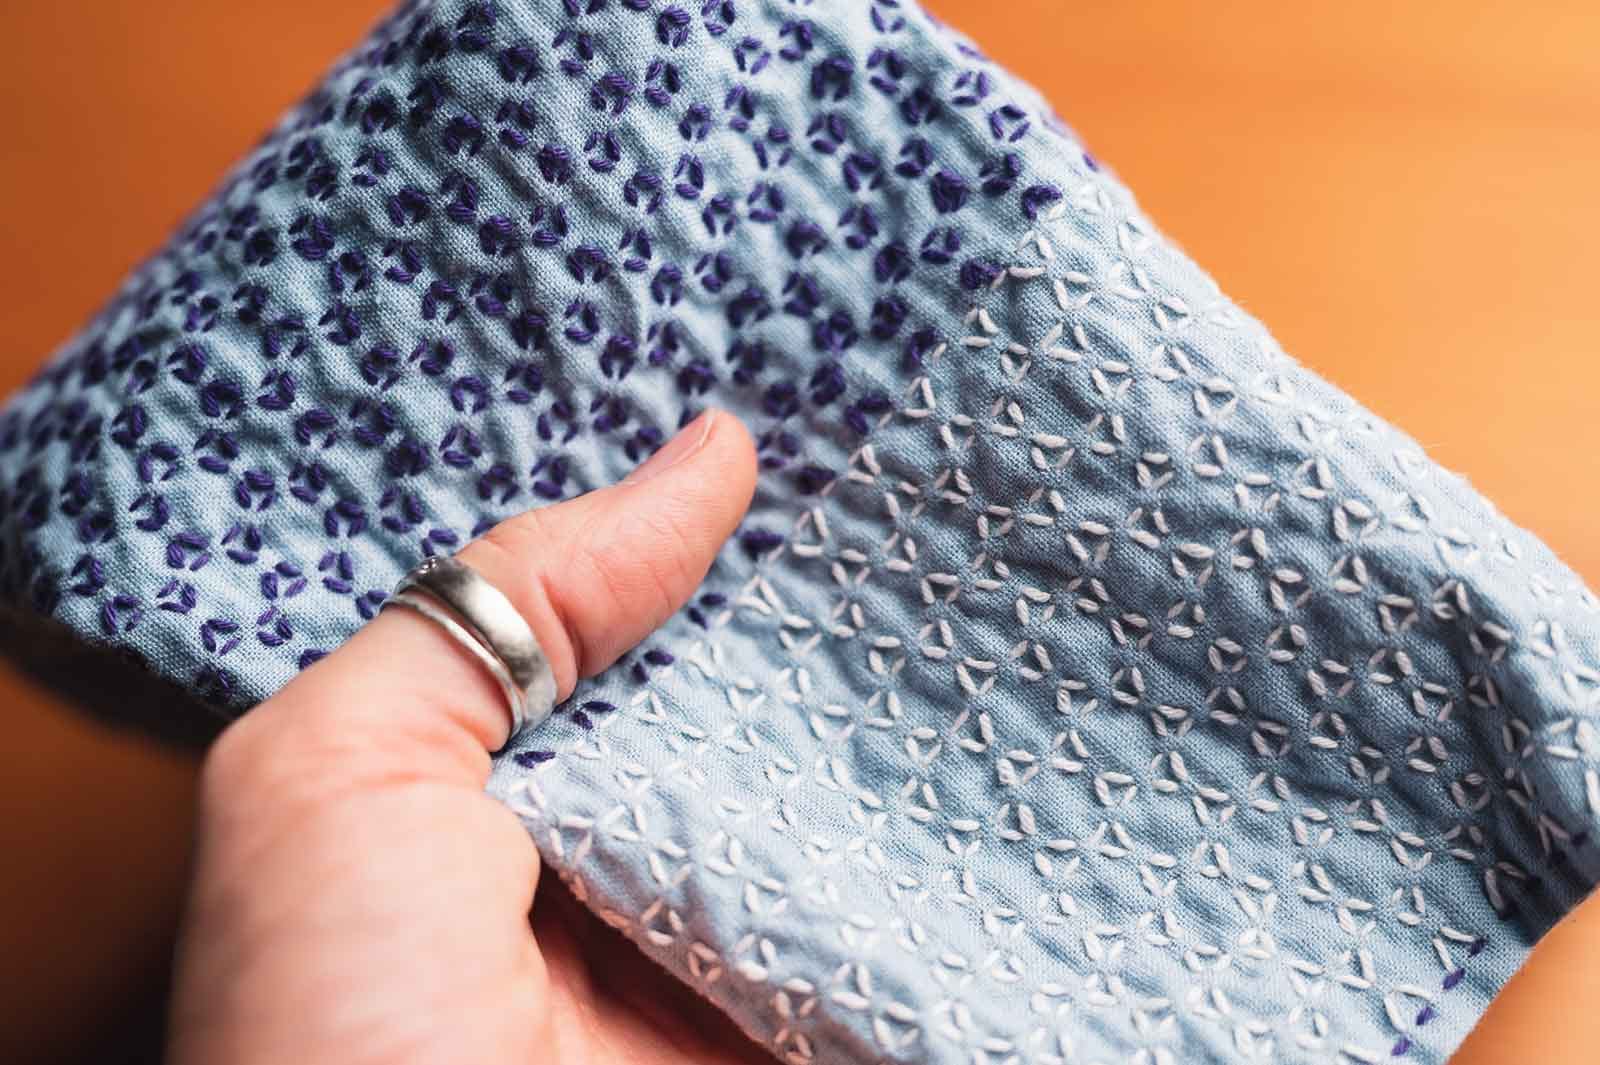
In Hitomesashi, the length of a stitch is solely defined by the size of the grid and the pattern you are stitching. Thus there is no varied ratio on the right and wrong side.
Exceptional length in Kugurisashi
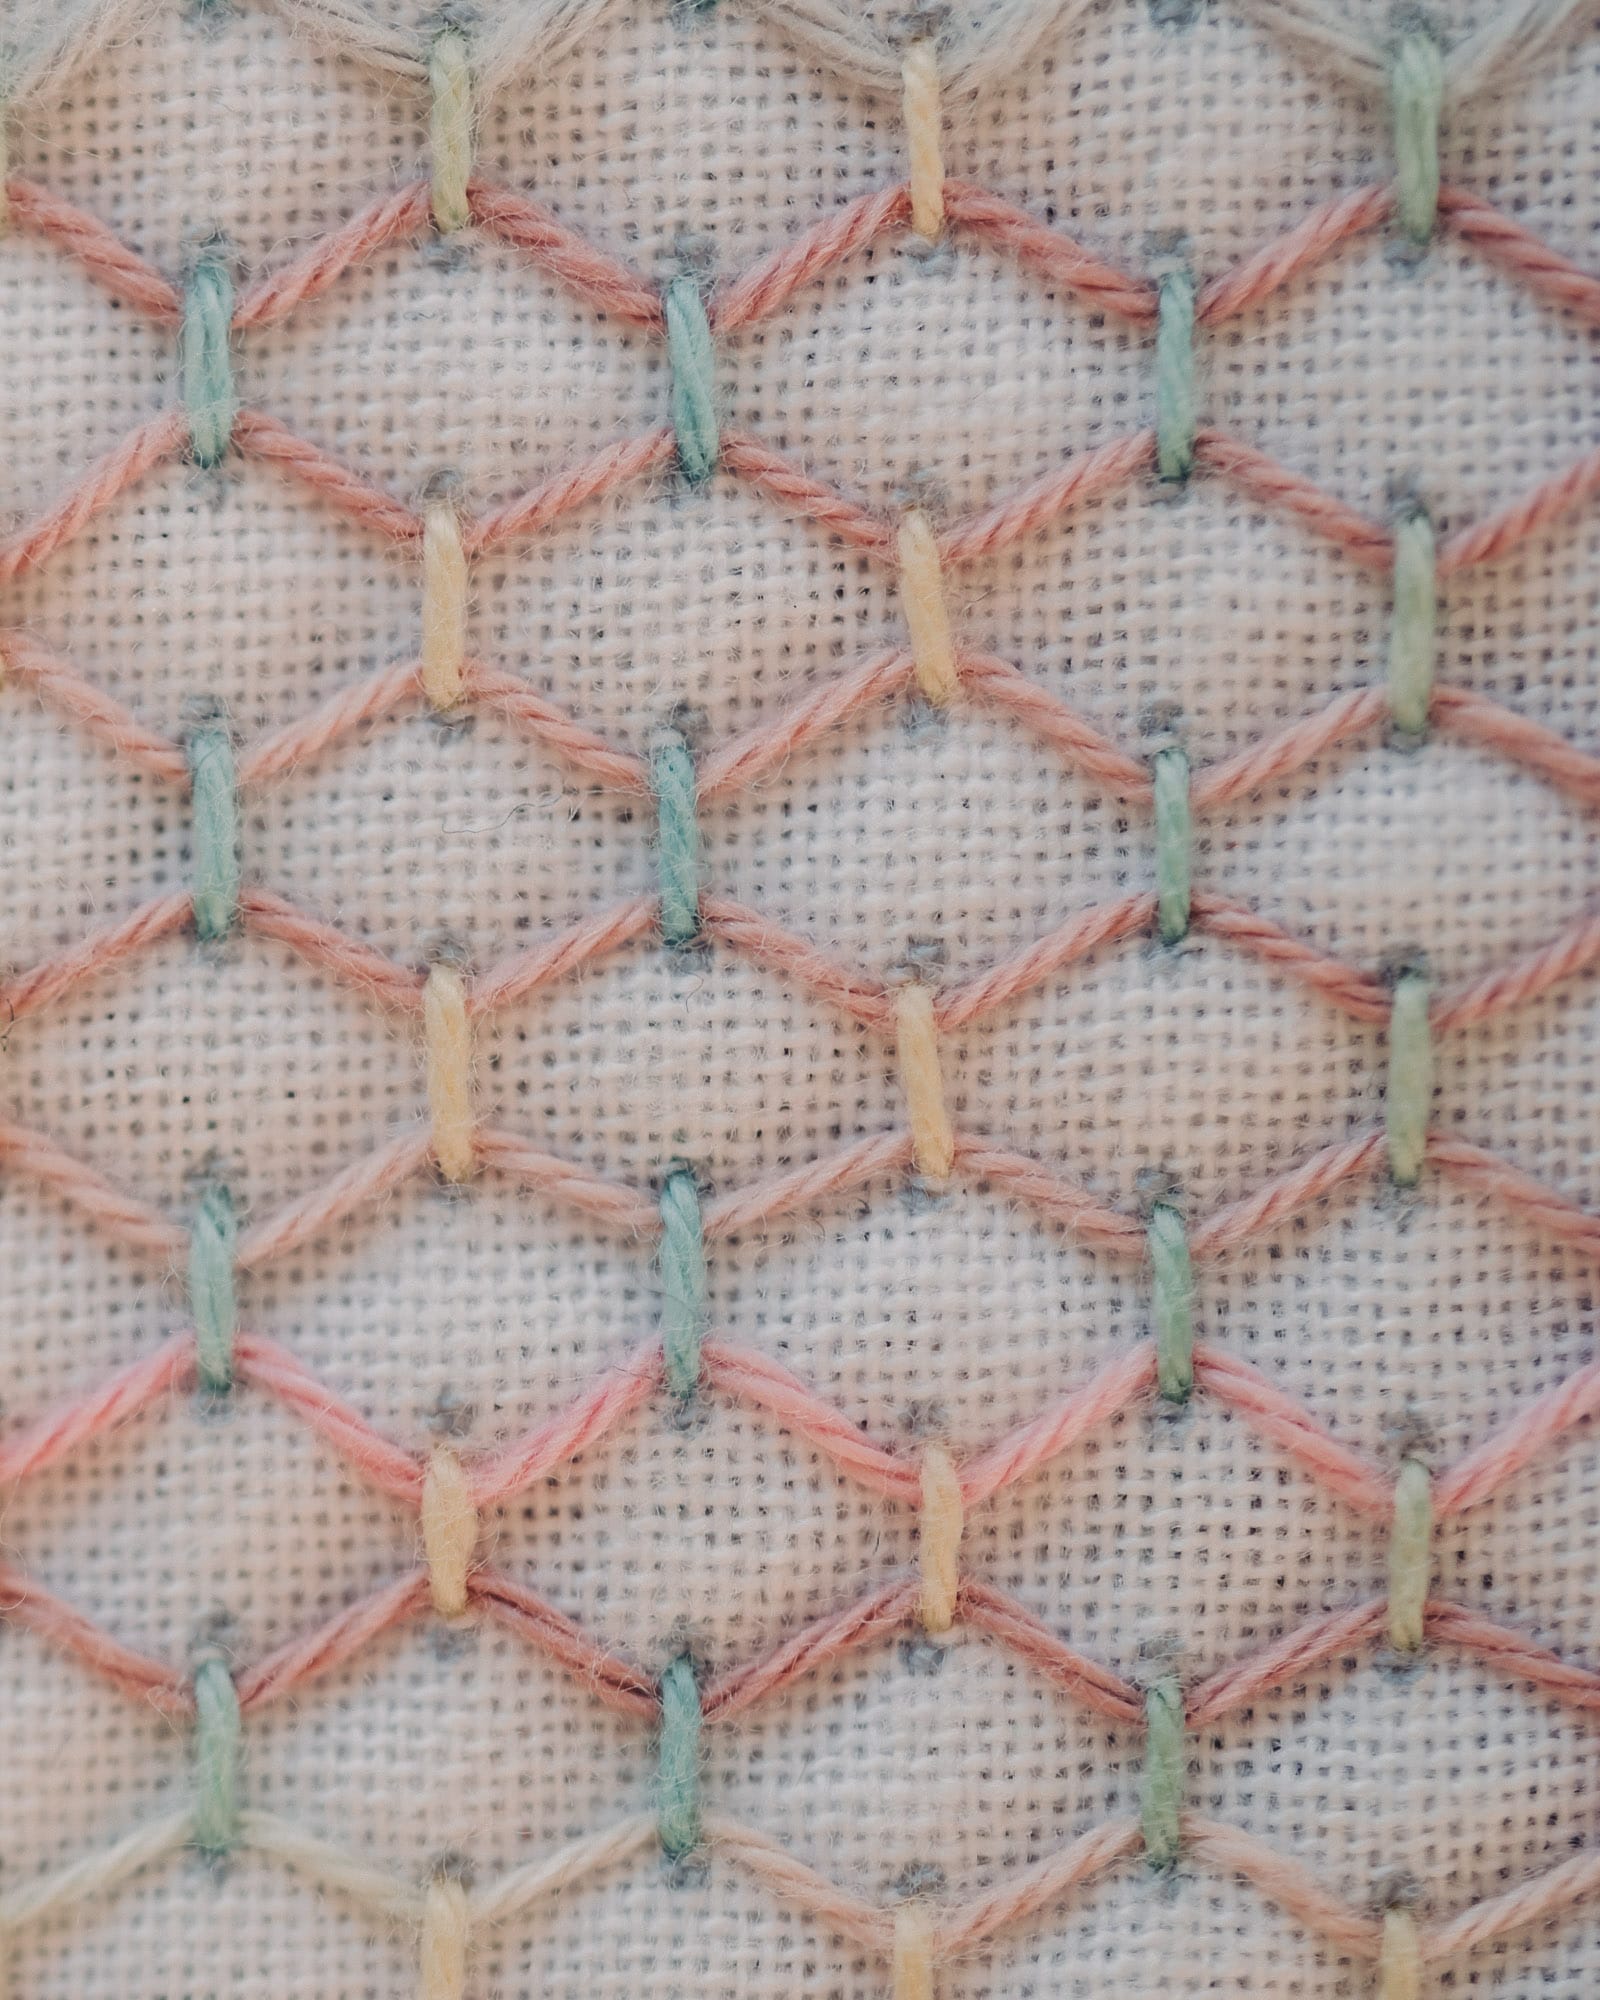
Kurgurisashi is sometimes used in combination with Hitomesashi. While normal sashiko stitch length doesn't exceed 15mm, the case is different for kugurisashi. Here, one stitch usually ends when you get to the end of one line or row of your pattern. The thread is secured by your hitomesashi stitches, so it looks as if one line consisted of many individual stitches.
Stitch length in Koginsashi
Koginsashi only uses horizontal stitches, unlike Moyōsashi and Hitomesashi.
Similar to Hitomesashi, the stitch length is not varied according to what feels aesthetically pleasing to the stitcher, but dictated by the pattern.
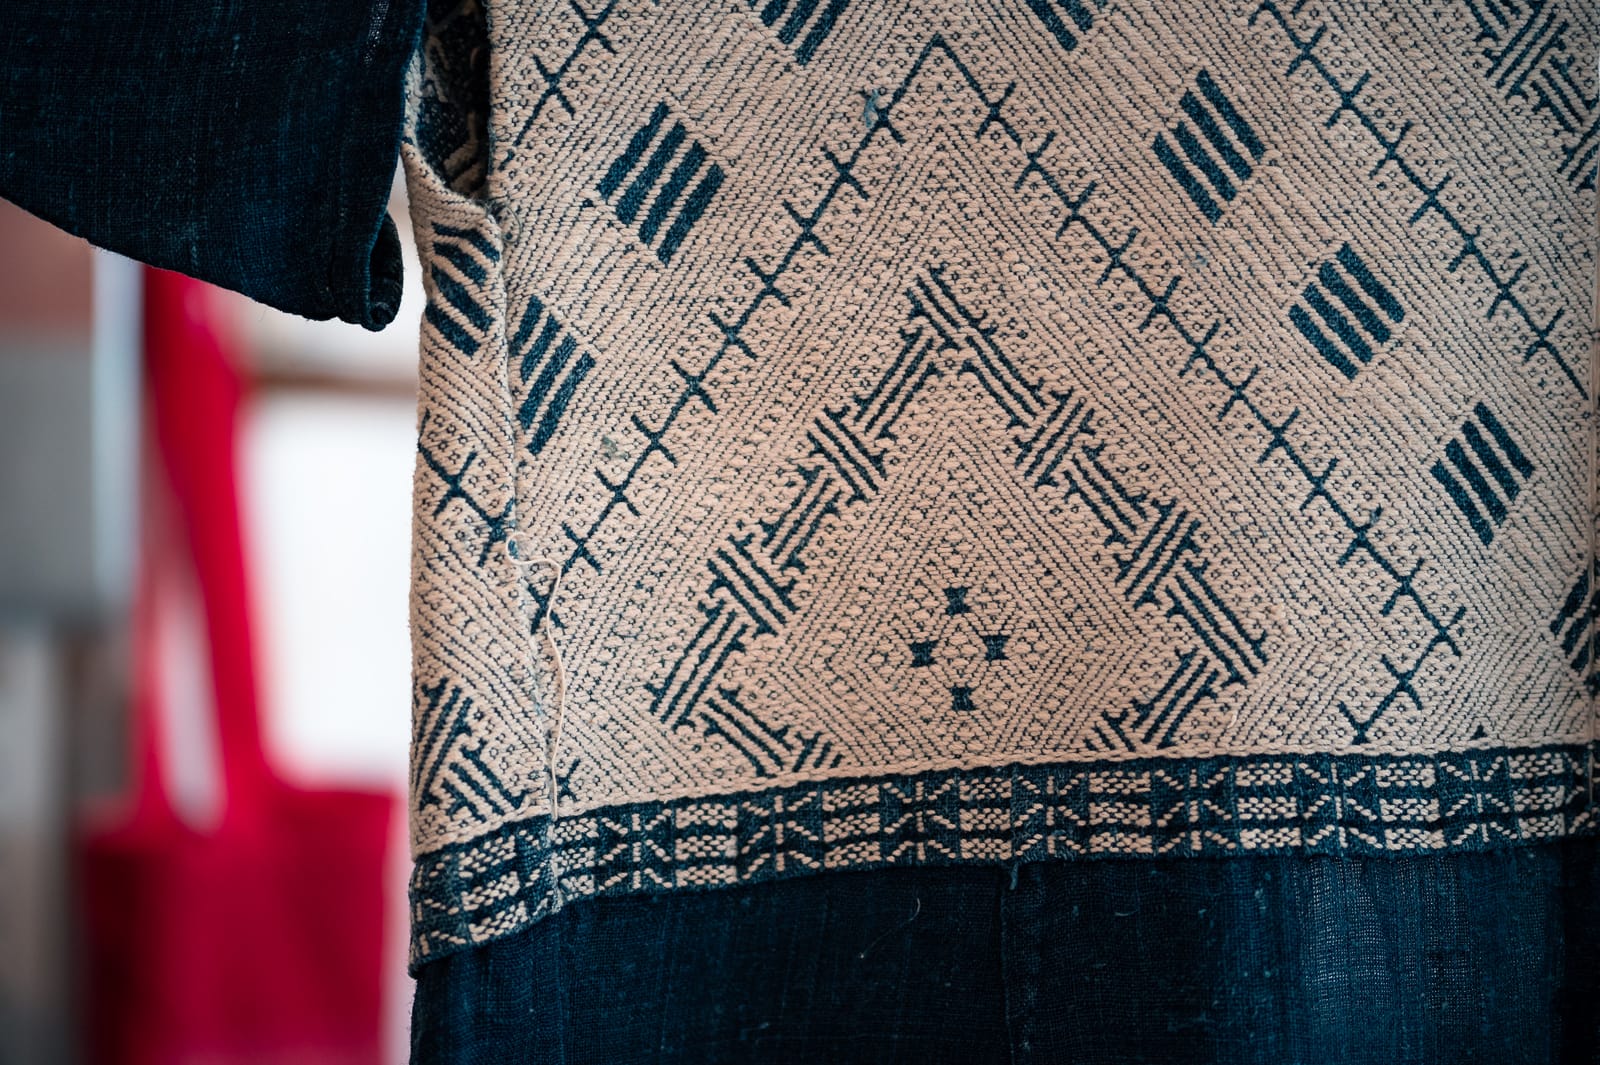
In Koginsashi, the pattern is dependent on thread count.
Conclusion
There is no one right stitch length in sashiko.
If you are unsure about the right stitch length for your pattern, you can always look up other people's finished projects on the internet and see what style you like. It's also fun to try out different styles and if you make a small project like a coaster, it won't take you long to finish. But it can still give you great insight into whether you like the stitch length you applied or not.
If you've never done sashiko before, I highly recommend trying out pre-printed patterns. I love the ones by Daruma, but Olympus and Hobbyra Hobbyre have nice ones, too.
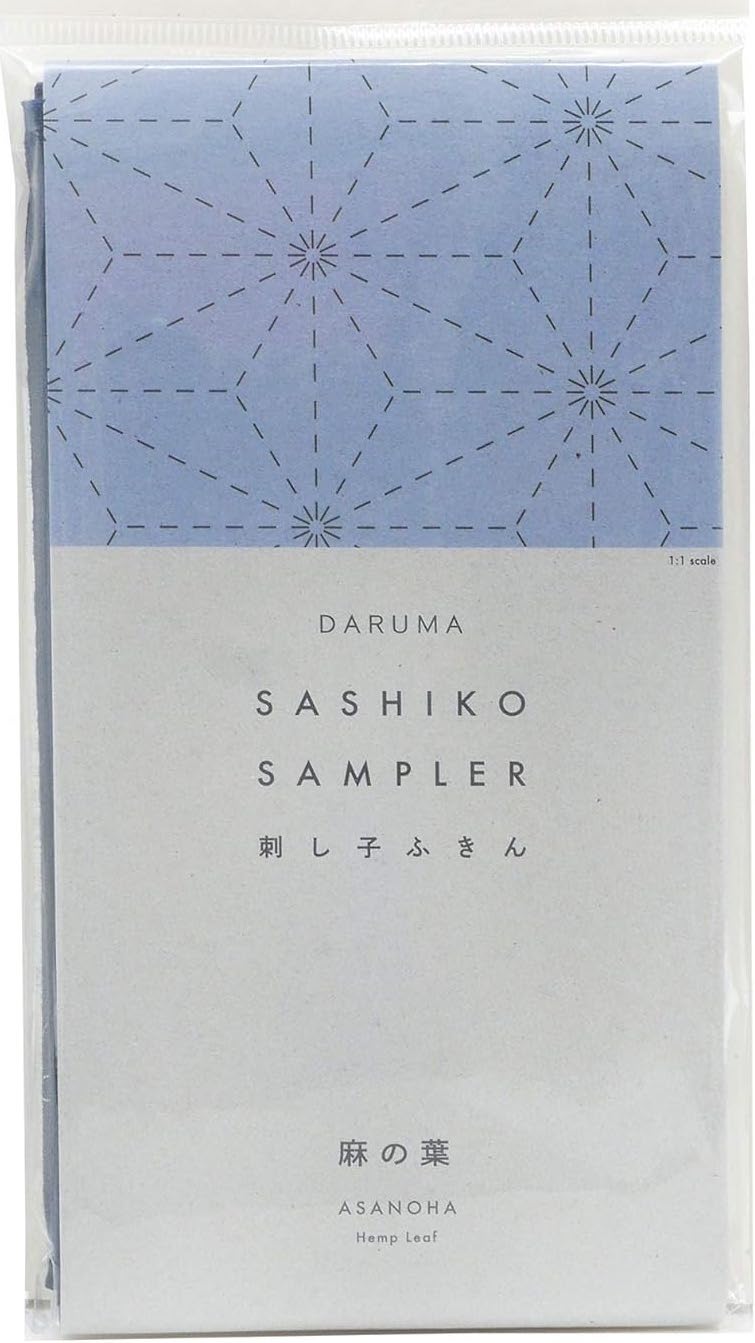
Pre-printed fabric by Daruma
If you want to do sashiko, but you don't want the hassle of drawing the pattern yourself, Daruma offers fabric that has the pattern printed on it. The lines wash out when you've finished stitching. Super easy!
I am super interested in your projects. Feel free to tag #stitchesontherun so I can find them.
Have fun and don't be afraid to try out new styles!


Comments ()